
Introduction to Taiyaki
What is Taiyaki and why is it loved?
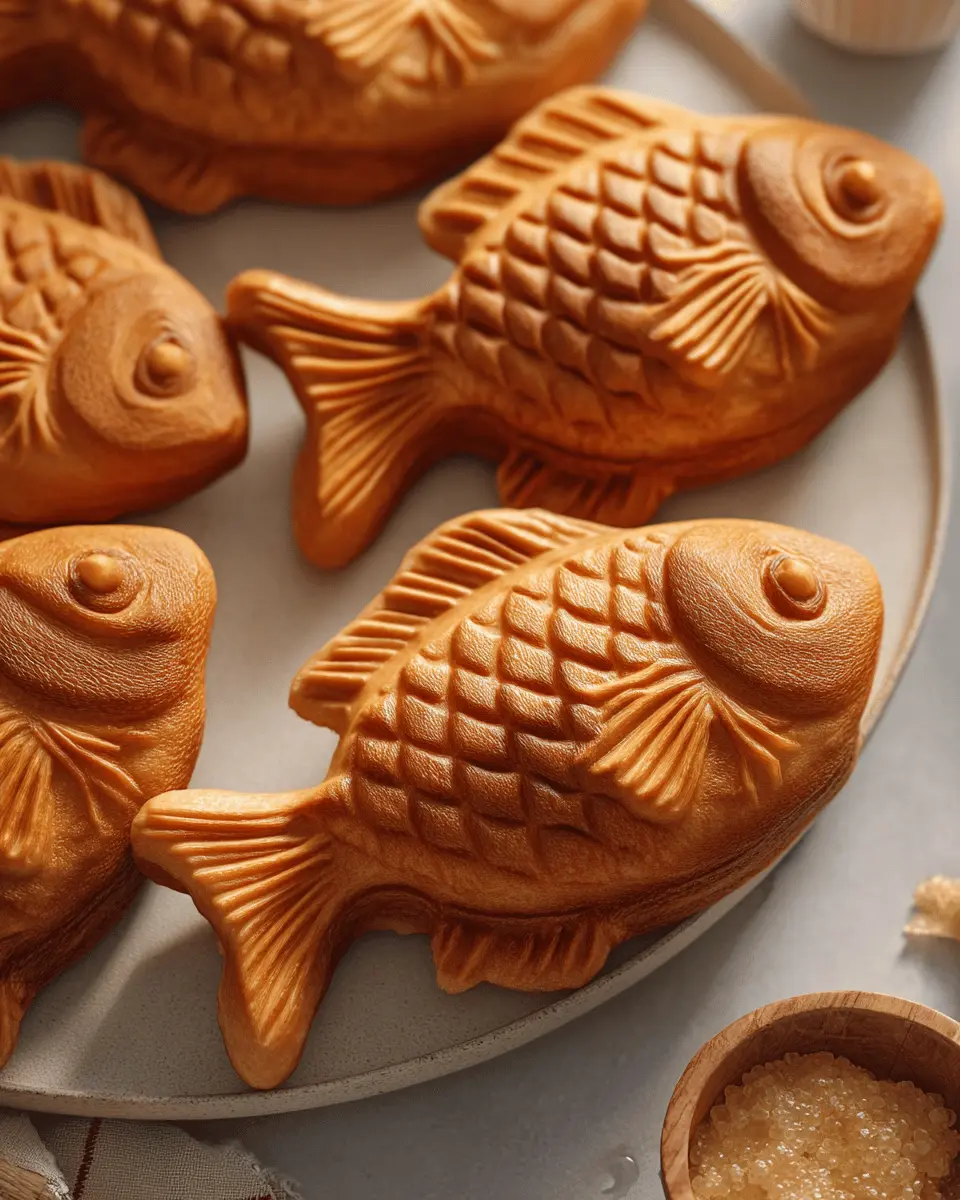
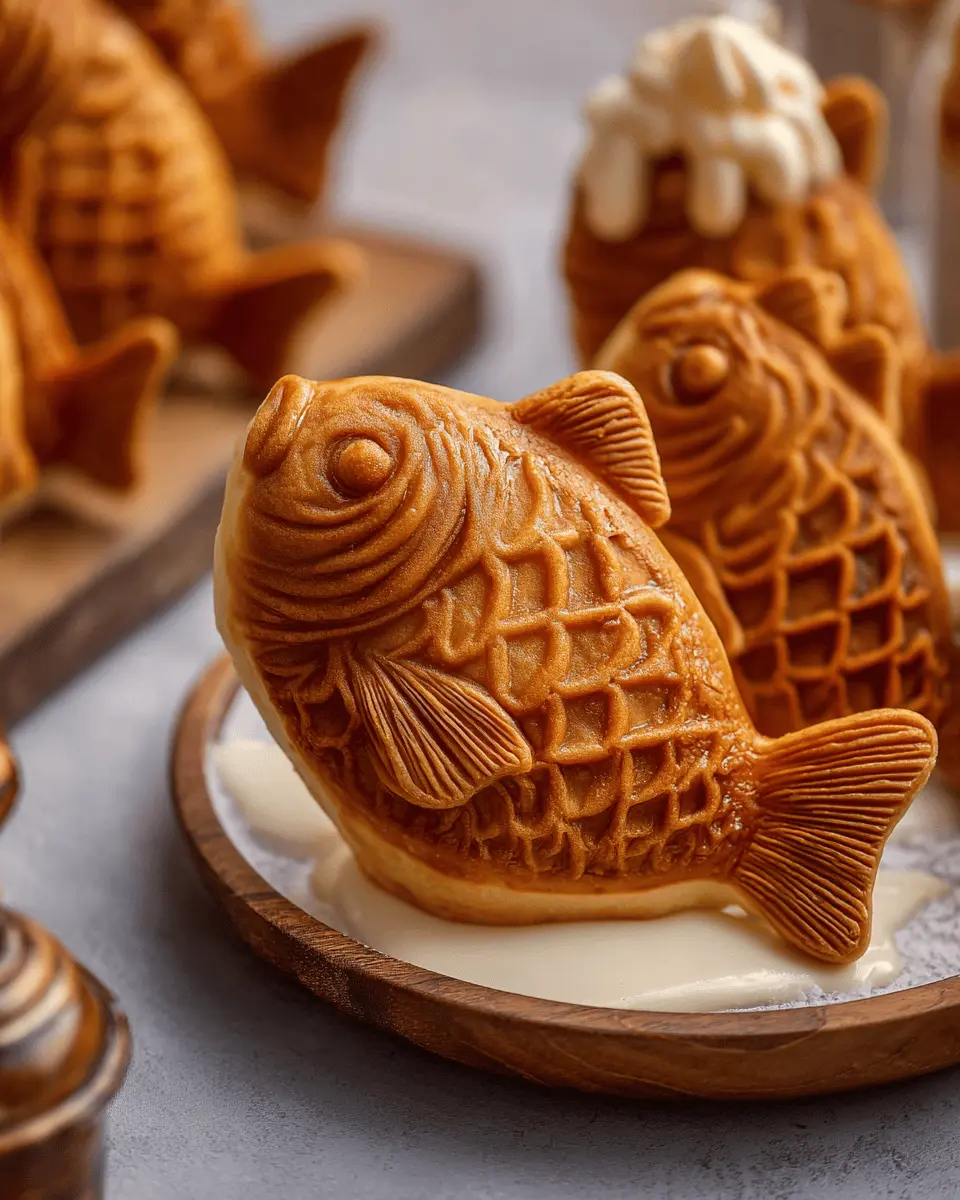
Taiyaki is a delightful Japanese fish dessert that has captured the hearts and taste buds of many since its inception. Shaped like a fish, this charming pastry is not just visually appealing; it’s also irresistibly delicious. Traditionally filled with sweet red bean paste, taiyaki has evolved to include a variety of fillings like Nutella, custard, or even savory options like cheese.
So, why is taiyaki so beloved? For starters, it's often found at Japanese street fairs and festivals, where the aroma of freshly cooked taiyaki wafts through the air, tempting passersby. The perfect blend of a crispy exterior and a soft, fluffy inside makes each bite an experience worth relishing. It’s the comfort food that brings back childhood memories for many, evoking a sense of nostalgia and warmth.
In essence, taiyaki is not just a snack; it’s a celebration of flavor and texture that showcases the creativity of Japanese cuisine. Whether you’re enjoying it on a winter's day or sharing it with friends, taiyaki is a delightful treat that invites everyone to take a pause and savor the moment. For more on this iconic dessert, check out Just One Cookbook for additional insights and recipes!
Ingredients for Taiyaki
When you're ready to make delicious taiyaki, the ingredients for the batter and fillings play a crucial role in achieving that perfect balance of flavors and textures. Here’s what you need!
Essential ingredients for the batter
To whip up a light and fluffy taiyaki batter, gather the following essential ingredients:
- Cake flour: 1 ¼ cup (150 g) is key for that tender texture.
- Granulated sugar: ¼ cup (50 g) adds just the right sweetness.
- Baking powder and soda: 1 teaspoon each helps achieve the classic fluffy rise.
- Salt: Just a pinch (¼ teaspoon) enhances the flavors.
- Egg: 1 large egg binds the mixture beautifully.
- Whole milk: ¾ cup provides moisture and richness.
- Vegetable oil: 1 tablespoon keeps the batter nice and tender.
- Vanilla extract: ½ teaspoon adds a delightful aroma.
Delicious fillings to try
One of the most exciting aspects of taiyaki is the versatile fillings! Here are a few popular options to inspire your culinary adventure:
- Red bean paste: A traditional favorite that brings a sweet, earthy flavor.
- Nutella: For a chocolatey twist that kids and adults alike will savor.
- Custard: A creamy option that offers a luscious texture.
- Cheese: For a savory take, go for a melty cheese filling that contrasts beautifully with the slightly sweet batter.
Feel free to mix and match these fillings or get creative with your own variations. For more filling ideas and inspiration, check out this comprehensive guide to fillings that explores a range of flavors!
Preparing Taiyaki
Making taiyaki at home can be a delightful and rewarding experience! If you're ready to dive into this delicious Japanese fish-shaped dessert, follow these easy steps to bring your very own taiyaki to life.
Make the batter
Start by gathering your ingredients. In a large mixing bowl, sift together 1 ¼ cups of cake flour, ¼ cup of granulated sugar, 1 teaspoon of baking powder, 1 teaspoon of baking soda, and ¼ teaspoon of salt. Whisk these dry ingredients together until they’re well combined. In a separate bowl, mix 1 large egg, ¾ cup of whole milk, 1 tablespoon of vegetable oil, and ½ teaspoon of vanilla extract. Once mixed, pour the wet ingredients into the dry mixture. Be careful not to overmix; it’s acceptable to have a few lumps in your batter for that fluffy texture. Cover the batter and let it rest in the refrigerator for at least 1 hour—this is crucial for a soft and tender crust!
Preheat the taiyaki pan
While the batter is resting, it’s time to prepare your taiyaki pan. Preheat it over medium-low heat—this step is essential for achieving that perfectly crispy exterior. Brush both sides of the pan with a neutral oil to prevent sticking and then wipe away any excess with a paper towel. This not only ensures your taiyaki won’t stick, but will also give them that beautiful golden color.
Fill the mold
Once your batter has rested, give it a quick stir and transfer it to a measuring cup with a spout for easy pouring. Carefully pour the batter into the taiyaki mold, filling about 60% of it. Make sure to leave the tail portion empty! Next, it’s time to add your filling of choice—whether it's sweet red bean paste, Nutella, or custard. For precision, consider using a piping bag to help you fill the center without any mess. Now, cover your filling with more batter, filling the tail portion, and close the mold tightly.
Cook the taiyaki
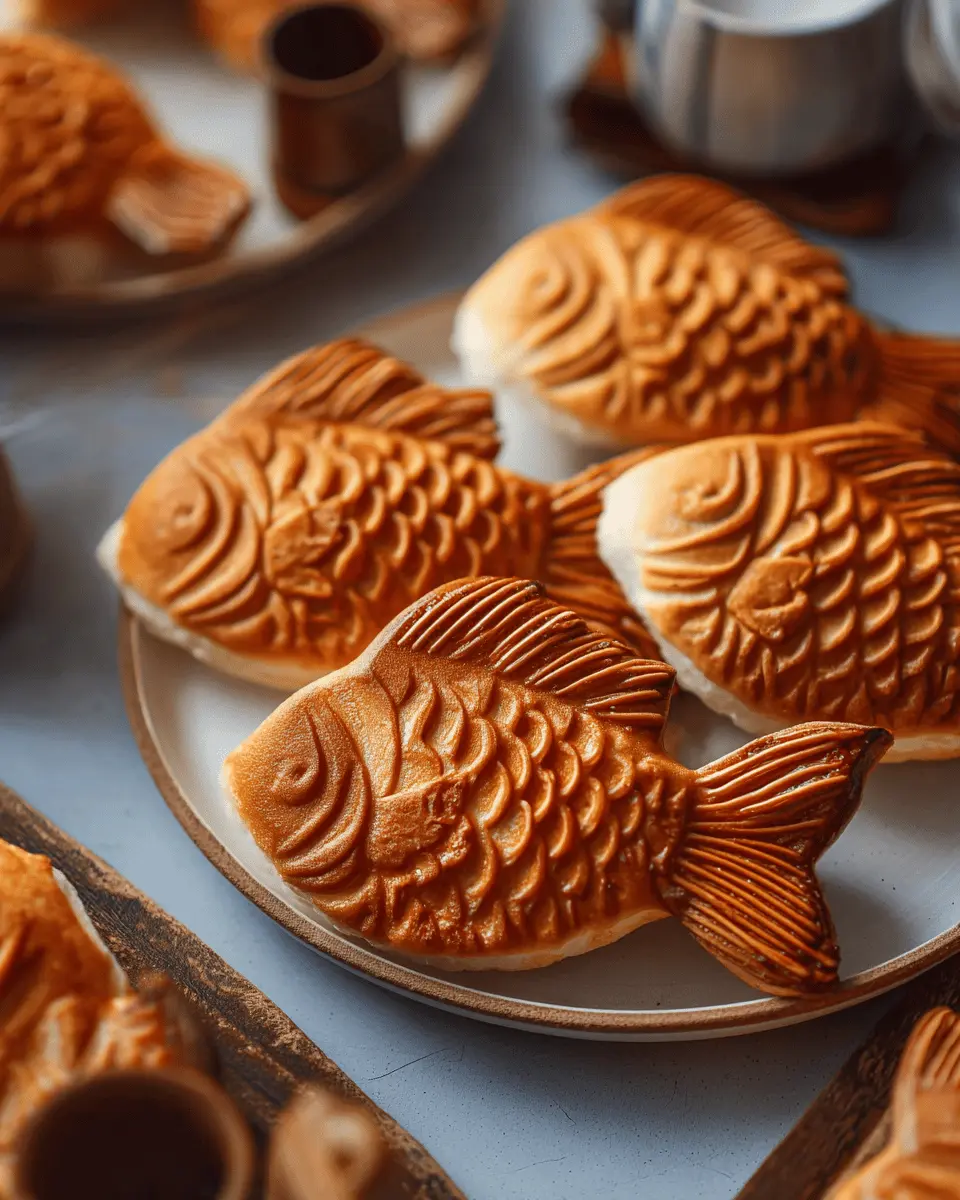
Here's where the magic happens! Carefully flip the mold so the batter spreads evenly, cooking for about 2-3 minutes on each side. Keep an eye out for a beautiful golden brown color that tells you they’re ready. When cooked, transfer your taiyaki to a cooling rack—don’t forget to trim any excess batter with scissors for a neat finish. Repeat this process with the remaining batter.
Serve and enjoy
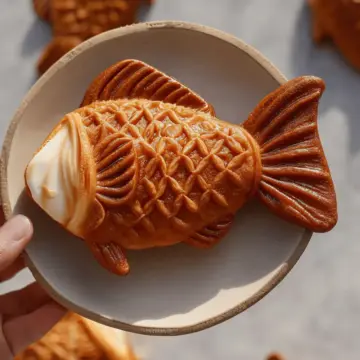
Your homemade taiyaki is ready to shine! Serve it warm for the best experience—there’s nothing like that fresh, fluffy treat straight from the pan. Whether you enjoy them stuffed with sweet or savory fillings, these delightful pastries are a joy to make and an even bigger joy to eat.
For more tips and variations, check out resources like Just One Cookbook that arrange a treasure trove of Japanese recipes! Happy cooking!
Variations on Taiyaki
When it comes to taiyaki, the filling possibilities are as endless as your imagination! While traditional red bean paste is delicious, don’t hesitate to explore alternative flavors that will excite your taste buds.
Nutella Taiyaki
Why not indulge in a creamy chocolate hazelnut twist? Simply replace the red bean filling with Nutella for a rich and gooey surprise. This option is especially popular among chocolate lovers and will have you savoring each delightful bite.
Matcha Taiyaki
Feeling adventurous? Try stuffing your taiyaki with a matcha custard filling. The earthy flavor of matcha complements the sweetness of the cake beautifully, offering a unique and visually striking dessert.
For more ideas and tips, check out this article on creative taiyaki fillings for inspiration!
Cooking Tips for Taiyaki
Getting the Perfect Texture
To achieve that oh-so-soft and fluffy texture in your taiyaki, make sure not to overmix your batter. A few clumps are actually your friend! (Japanese culinary experts suggest this technique to ensure a tender fish-shaped cake). Resting the batter in the fridge for at least an hour helps to relax the gluten, resulting in a lighter and softer dessert.
Temperature Adjustments
Pay attention to the heat of your taiyaki pan. Preheat it on medium-low to form a delightful crispy exterior while keeping the interior moist. If you notice uneven cooking, you may need to adjust the heat up or down slightly. Remember, practice makes perfect; don’t hesitate to experiment until you find the ideal cooking temperature for your stove!
For more tips on perfecting your taiyaki, check out this guide on traditional Japanese desserts.
Serving suggestions for Taiyaki
Pairing with drinks
When enjoying your delicious taiyaki, consider pairing it with refreshing beverages that complement its sweet flavors. A cup of green tea or matcha latte is perfect for a subtle, earthy balance. If you're in the mood for something more invigorating, try a sparkling fruit soda or a sweet iced hibiscus tea. These drinks will help enhance your taiyaki experience, making it a delightful treat at any time of day.
For more drink ideas, check out resources on Japanese beverage pairings—there’s a whole world to explore!
Creative plating ideas
Serving your taiyaki beautifully elevates the dessert experience. Try stacking the fish-shaped pastries on a wooden serving board for a rustic touch. You can dust them lightly with powdered sugar or drizzle some melted chocolate on top. To add a vibrant touch, sprinkle edible flowers around the plate or accompany them with seasonal fruits like strawberries and kiwi. Enhancing the visual appeal not only impresses guests but also creates an Instagram-worthy moment. The key is to keep it simple and elegant!
Time breakdown for Taiyaki
Preparation time
The prep will take about 5 minutes. You'll quickly whip up the batter and prepare your filling, ensuring a smooth start to your taiyaki adventure.
Cooking time
Cooking the delicious taiyaki will take around 25 minutes. This includes the time to perfect that golden-brown exterior on each fish-shaped delight.
Total time
In total, you’re looking at approximately 1 hour and 30 minutes. This includes an essential 1-hour resting time for the batter, which is key to achieving that soft, airy texture. Trust us, it’s worth the wait!
For more inspirations on fillings, check out Japanese Street Food. Happy cooking!
Nutritional Facts for Taiyaki
Calories
A serving of taiyaki contains approximately 162 calories, making it a delightful treat without overwhelming your daily caloric intake. It's perfect for a sweet snack or a dessert!
Sugar Content
Each taiyaki has around 11 grams of sugar, primarily from the sweet fillings like red bean paste or custard. While this adds to the delicious flavor, it's good to enjoy in moderation if you're keeping an eye on your sugar levels. Enjoy each bite while being mindful of your overall dietary goals!
For more details on managing sugar intake, consider checking out Sugar and Your Diet.
FAQs about Taiyaki
Can I make taiyaki without a special pan?
Absolutely! If you don't have a taiyaki pan, you can use a regular non-stick skillet or you can even try making taiyaki-style pancakes. Just shape the batter into fish forms using a spatula or cookie cutter. While the traditional shape adds charm, the taste will still be delicious!
How long can taiyaki be stored?
For the best taste and texture, enjoy your taiyaki fresh out of the pan. However, if you have leftovers, store them in an airtight container in your refrigerator for up to 3 days. When you're ready to enjoy them again, briefly reheat them in a toaster oven to regain some crispiness.
What are some popular taiyaki fillings?
The world of taiyaki fillings is wide and delightful! Here are some crowd-pleasers:
- Red bean paste: a classic choice for a sweet, authentic experience.
- Custard: creamy and rich, it’s a favorite among kids.
- Nutella: for a chocolatey twist that’s irresistible.
- Cheese: a savory option that pairs well with the sweet batter.
Feel free to experiment with your favorites!
Conclusion on Taiyaki
In summary, taiyaki is not just a dessert; it’s a delightful experience that brings a taste of Japan to your kitchen. With its unique fish shape and endless filling options, it’s perfect for gatherings or a cozy treat at home. Give this recipe a try, and savor every bite.
Taiyaki (Japanese Fish Dessert)
Equipment
- Taiyaki pan
- Kitchen Scale
- mixing bowls
- Pastry Brush
- Measuring cup with spout
- piping bag
Ingredients
- 1 ¼ cup cake flour
- ¼ cup granulated sugar
- 1 teaspoon baking powder
- 1 teaspoon baking soda
- ¼ teaspoon salt
- 1 large egg
- ¾ cup whole milk
- 1 tablespoon vegetable oil
- ½ teaspoon vanilla extract
- ¾ cup filling (red bean paste, nutella, custard, cheese, etc.)
Instructions
Taiyaki Batter
- In a large mixing bowl, sift the cake flour, sugar, baking powder, baking soda, and salt. Whisk to combine and set aside.
- In a medium mixing bowl, add the egg, milk, vegetable oil, and vanilla extract. Mix to combine.
- Pour the wet ingredients into the dry ingredient mixture. Whisk until just combined leaving a few clumps. Cover and rest in the refrigerator for at least 1 hour.
Assembly
- Preheat the taiyaki pan over medium low heat. Brush both sides of the mold with neutral oil and gently wipe away excess with a paper towel.
- Give your batter one quick mix and transfer the batter into a measuring cup with a spout. Then pour the batter into the taiyaki mold about 60% full leaving the fishtail empty.
- Add about 1 tablespoon of filling in the center of the fish. For easy filling, place the filling in a piping bag and pipe the filling into the batter.
- Cover the filling with batter until it fills the fishtail. Close the mold and immediately flip so the batter spreads evenly.
- Cook for about 2-3 minutes on each side until golden brown. Then transfer to a rack to cool slightly before serving. Cut any excess batter with scissors. Repeat with the remaining batter. Enjoy immediately when warm.


Leave a Reply