
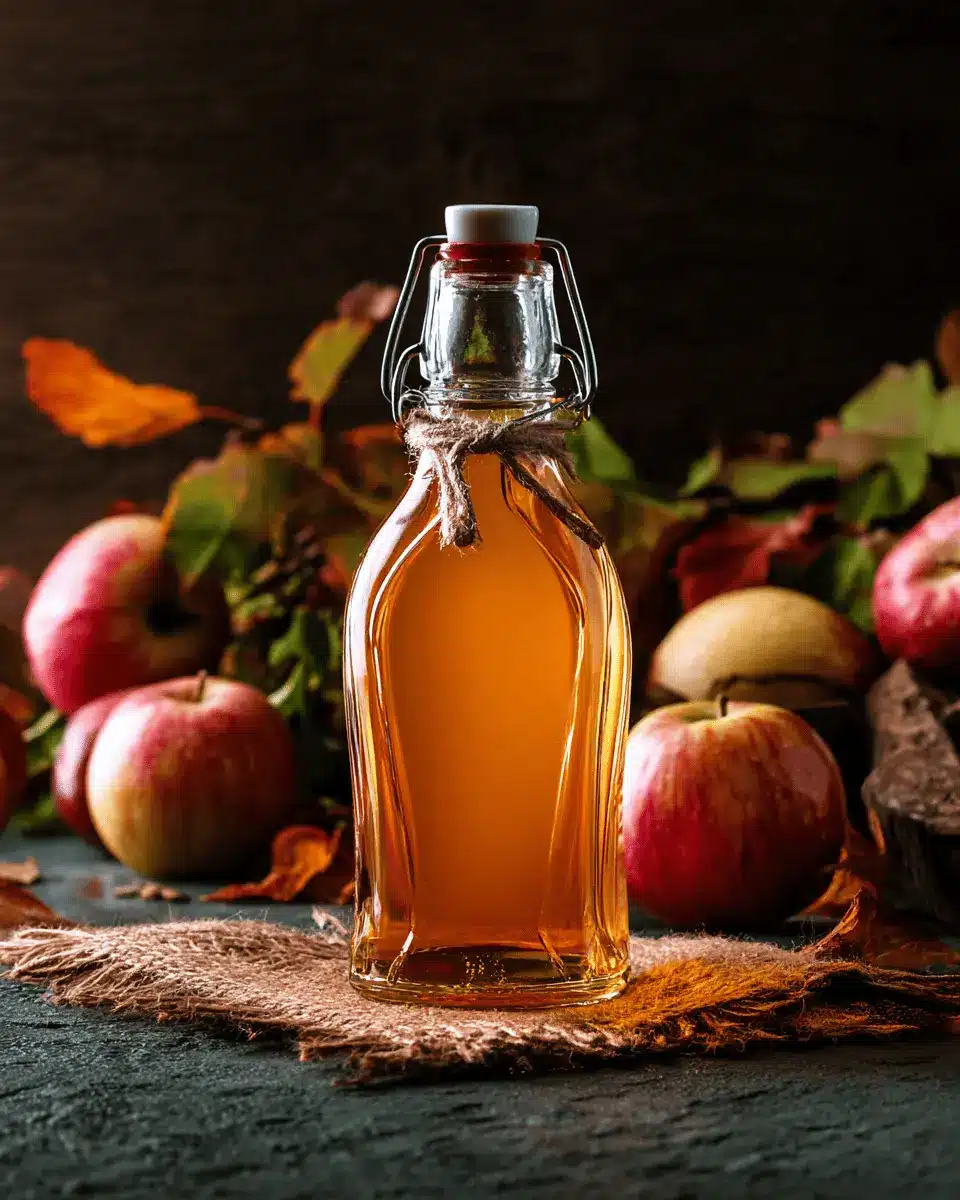
Introduction to Making Apple Cider Vinegar at Home
Apple cider vinegar (ACV) is more than just a tangy addition to salads; it's a powerhouse ingredient loaded with potential health benefits. From aiding digestion to potentially offering weight-loss support, many choose to incorporate ACV into their wellness routines. But why should you consider making your own at home?
Why Should You Make Apple Cider Vinegar Yourself?
-
Control Over Ingredients: When you make apple cider vinegar yourself, you have complete control over the quality of the ingredients. You can use organic apples and avoid preservatives commonly found in store-bought versions.
-
Cost-Effective: Making your own ACV can be significantly cheaper than buying it pre-made, especially if you're using leftover apple scraps from your home cooking.
-
Unique Flavor: Homemade vinegar can have a distinct taste that reflects your personal touch. You can experiment with different apple varieties or add herbs and spices to create your own signature flavor.
Moreover, the process is straightforward and rewarding, akin to brewing kombucha or other fermented beverages. With just a few steps, you'll be well on your way to understanding how to make apple cider vinegar at home—and you can impress your friends with your culinary skills!
Ready to get started? Check out our full recipe: How to Make Apple Cider Vinegar at Home.

Ingredients for Homemade Apple Cider Vinegar
Creating your own apple cider vinegar is not only rewarding, but it also allows you to customize the flavors to suit your taste. Here’s what you’ll need to get started!
Essential Ingredients for the Standard Recipe
For a traditional homemade apple cider vinegar, gather these key ingredients:
- Apples: About 6-10 organic apples; feel free to use a mix of sweet and tart varieties!
- Sugar: 1 cup of organic cane sugar. This will help kickstart fermentation.
- Water: 1 quart of filtered water to dissolve the sugar.
These few items are all you need to create a delicious base for your vinegar.
Quick Version Ingredients by Drew Beechum
If you're short on time, you can use Drew Beechum’s quick and easy method:
- 1 pint of cider: Any flavor, preferably not pasteurized.
- 1 tablespoon of non-pasteurized apple cider vinegar: Look for types with the "mother," like Bragg’s Organic ACV.
Tools You’ll Need for the Process
Before diving into the fermentation, make sure you have these essential tools on hand:
- Glass jars: Quart-sized or larger with lids.
- Cheesecloth: For covering the mixture and allowing airflow.
- Rubber bands: To secure the cheesecloth over the jar.
- Mixing utensils: Wooden or silicone spatula works best.
With these ingredients and tools, you're well on your way to enjoying your homemade apple cider vinegar! Do you have any favorite recipes in mind for using it? If you want to learn more about how to make apple cider vinegar at home, keep reading!
Step-by-Step Preparation of Apple Cider Vinegar
Sanitize your jars and lids
To kick things off in your journey to learn how to make apple cider vinegar at home, proper sanitation is crucial. Start by cleaning your glass jars and lids thoroughly. This prevents unwanted bacteria from mingling with your vinegar, which could ruin the flavor and fermentation process. You can use a food-safe sanitizer or boil them in hot water. Once washed, ensure you rinse them well to get rid of any leftover sanitizer residue—trust me, your vinegar will taste infinitely better this way!
Combine the cider and vinegar
Once your jars are sanitized and dry, it’s time to bring your ingredients together. Take a pint of your favorite apple cider (a big shoutout to local farmers’ markets for quality options!) and pour it into the jar. Next, add one tablespoon of non-pasteurized apple cider vinegar that contains the mother, such as Bragg Organic Apple Cider Vinegar. This “mother” is a mysterious substance high in beneficial bacteria, kickstarting your fermentation. Secure the lid and give the jar a good shake, ensuring everything is well-combined.
Shake, cover, and let it breathe
Now that your ingredients are mixed, it’s time to allow the magic to happen. Cover the jar with a piece of cheesecloth and secure it with a rubber band. This helps the mixture breathe while keeping pesky bugs out. Shake the jar gently once a day for the next three days to promote fermentation. Make sure to keep it in a warm, dark place—ideally around 70-80°F. This allows the fermentation process to begin.
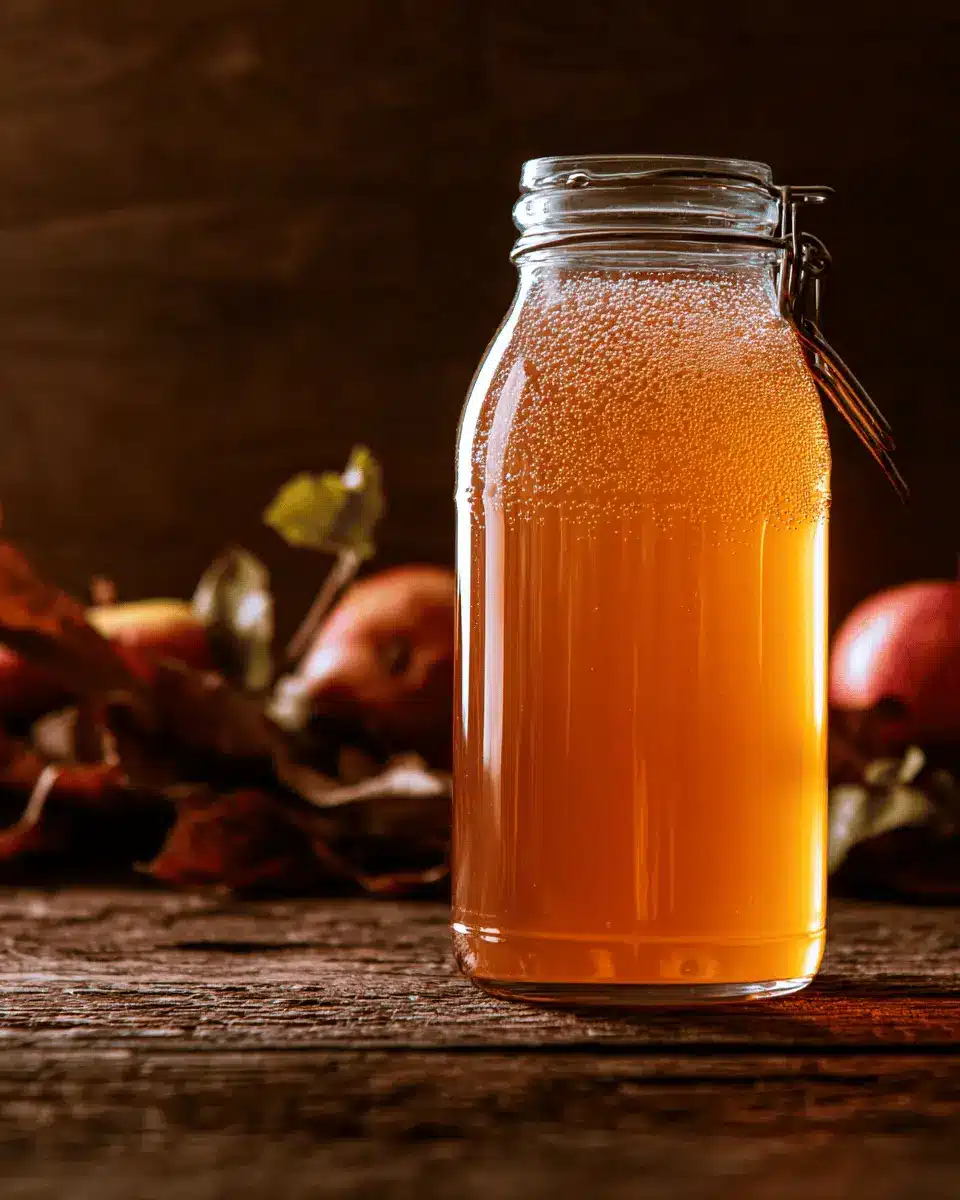
Wait for the mother to form
After about a month, you may notice a whitish-gray, gelatinous layer forming on the surface. Congratulations! That’s the mother! Don’t be alarmed; it’s harmless and signifies that your vinegar is on the right track. Notably, this vinegar mother is a sign of good bacteria that is beneficial for gut health. The longer you allow it to sit, the more pronounced the flavor will become. This part of the process can take anywhere from 1-2 months, so patience is key!
Taste testing and finalizing your vinegar
When the time feels right—don’t rush it! Grab a straw (or a clean spoon if you’re fancy) and carefully take a small sip from below the mother. Does it make your taste buds sing? Perfect! If it’s too harsh, give it a bit more time to mellow out. If you’re satisfied, you can choose to filter out any larger bits of the mother or keep things as is for a stronger flavor and health benefits.
Optional pasteurization process
If you want to take it a step further, consider pasteurizing your finished vinegar. Heat it slowly on the stove until it reaches 155°F for about 30 minutes. This can help preserve your vinegar for a longer shelf life, but remember, pasteurization is entirely optional. After that, fill your sanitized jars while the vinegar is still hot and cap them snugly.
Voilà! You’ve successfully learned how to make apple cider vinegar at home, and your kitchen just gained a versatile ingredient that can elevate so many dishes! Feel free to explore our other recipes to make the most out of your homemade vinegar. Happy fermenting!
Variations of Apple Cider Vinegar Recipes
Herbal Infused Apple Cider Vinegar
Elevate your homemade vinegar by infusing it with fresh herbs. Simply add herbs like rosemary, thyme, or basil to your ACV during the fermentation process. This not only adds flavor but also enhances the vinegar's health benefits. Consider using a blend of herbs for a unique twist. You can find more infusion ideas and tips in articles on herb preservation.
Spiced Apple Cider Vinegar
For a warm, comforting flavor, try a spiced version of apple cider vinegar. Add cinnamon sticks, cloves, and even a hint of ginger during the fermentation stage. Not only does this result in a delicious addition to dressings and marinades, but it’s also great for cozy fall recipes. Curious about the benefits of these spices? Check out the health benefits of spices in nutrition journals.
Cooking Tips for Homemade Apple Cider Vinegar
Best practices to enhance flavor
To kick your homemade apple cider vinegar up a notch, opt for organic apples or leftover apple scraps—cores and peels work wonders! Experiment with adding spices like cinnamon or cloves for a unique twist. Also, consider using the best quality non-pasteurized vinegar as a starter; it brings more beneficial bacteria to your brew, ensuring a richer flavor profile.
Common pitfalls to avoid during fermentation
Fermentation can be unpredictable, so be mindful of these common pitfalls. First, avoid using metal containers; stick with glass or food-safe plastic to prevent unwanted chemical reactions. Additionally, ensure your fermenting vinegar is kept in a warm, dark space free from contaminants. Lastly, don’t rush the process—patience is your secret ingredient; give it time to develop its full flavor!
Serving Suggestions for Your Apple Cider Vinegar
Delicious Salad Dressings and Marinades
There’s nothing quite like a homemade salad dressing to elevate your meal! Apple cider vinegar serves as a tart, flavorful base that can transform simple greens into a gourmet dish. Combine it with olive oil, mustard, honey, and fresh herbs for a delightful vinaigrette. You can also use it in marinades for grilled chicken or turkey bacon, adding depth and tang to your favorite dishes.
Creative Uses in Cooking and Baking
Get adventurous! Incorporate apple cider vinegar into your cooking by adding a splash to soups or stews for a bright note. You can also experiment with it in baking by substituting it for other acidic ingredients in recipes like chocolate cake, where it reacts with baking soda to create lift. Just think of all the possibilities once you learn how to make apple cider vinegar at home — your culinary creativity has only just begun!
For more ideas on how to maximize your apple cider vinegar, check out Food52's Guide for inspiration!
Time Breakdown for Making Apple Cider Vinegar
Preparation Time
Preparing your ingredients for making apple cider vinegar at home takes about 15-20 minutes. This includes sanitizing your jars and gathering everything you'll need to kick off the fermentation process.
Fermentation Time
The fermentation phase is where the magic happens! You'll want to let your mixture ferment for a minimum of 30-60 days. During this time, keep an eye on that fascinating “vinegar mother” developing at the surface.
Total Time Until Ready for Use
From start to finish, you’re looking at about 1-2 months before your homemade apple cider vinegar is ready for use. While waiting can feel slow, trust me, it’s worth every extra day!
The beauty of making vinegar at home is that it gives you time to experiment with flavors while you wait. Consider this time a gift for your future culinary creations!
For more details, check out the full recipe: How to Make Apple Cider Vinegar at Home.
Nutritional Facts of Apple Cider Vinegar
Calories per tablespoon
Apple cider vinegar is quite low in calories, with only about 3 calories per tablespoon. This makes it an excellent choice for those pursuing a weight-conscious lifestyle, allowing you to enhance flavors without significantly adding to your caloric intake.
Health benefits summary
Incorporating apple cider vinegar into your diet may offer several health benefits. It's known for its potential to aid digestion, help regulate blood sugar levels, and support weight loss efforts. Additionally, its antioxidant properties can contribute to overall wellness. Discover more about these benefits from sources like Healthline for a deeper understanding of how to make apple cider vinegar at home and its positive effects on your health.
FAQs about Apple Cider Vinegar
How long does it take to make homemade apple cider vinegar?
When you’re figuring out how to make apple cider vinegar at home, patience is key! Typically, the fermentation process takes about 4 to 8 weeks. You’ll see some magic happen about a week in when a whitish-gray “mother” starts forming. Just remember, the longer you let it sit, the tangier it becomes, so check a sample after a month to see if it suits your taste!
How should I store my homemade apple cider vinegar?
Proper storage is crucial for maintaining the quality of your homemade apple cider vinegar. Keep it in a dark, cool place in a tightly sealed container. Unlike many condiments, it doesn’t require refrigeration due to its acidic nature, which prevents bacterial growth. For best practices, use it up within two years for optimal flavor.
What are some health benefits of apple cider vinegar?
Apple cider vinegar has gained a reputation for its numerous health benefits. People often use it to help with weight management, support digestion, and potentially lower blood sugar levels. While more research is needed, many health enthusiasts swear by its antioxidant properties. Check out trusted sources like the Mayo Clinic for more insights on its purported benefits!
Conclusion on Making Apple Cider Vinegar at Home
Creating your own apple cider vinegar at home is not just rewarding but also a fun experiment in fermentation! With just a few simple ingredients and some patience, you can achieve a delicious product that elevates your cooking. Dive into this culinary adventure, and who knows, you might uncover newfound health benefits along the way! For the complete recipe, check out our article on how to make apple cider vinegar at home.
By Megan Wabst
Read the full recipe here.
Are you excited to give this a try? Don’t forget to share your results and tips with us!

How to Make Apple Cider Vinegar at Home
Equipment
- glass jar
- cheesecloth
- rubber band
- saucepan
Ingredients
- 1 pint cider any flavor, alcoholic
- 1 tablespoon premade apple cider vinegar non-pasteurized (with mother), such as Bragg Organic
Instructions
Preparation
- Sanitize the glass jars and lids. Rinse thoroughly to avoid ruining the vinegar flavor.
Execution
- Combine the cider and natural vinegar in the canning jar, put on the lid, and shake it up.
- Remove the lid and cover the jar with the folded cheesecloth. Rubber band the cheesecloth to the jar and swirl it once a day for 3 days.
- After a month, notice the whitish-gray 'vinegar mother' forming. It will be ready in a month or two.
- Taste the vinegar. If it's too sour, filter the vinegar and seal it.
- Optionally pasteurize the vinegar by bringing it to 155°F for 30 minutes.


Leave a Reply