
Introduction to Easy No Bake Banana Pudding
If you’re a young professional juggling a busy work life, the last thing you want to do is spend hours in the kitchen. That's where no-bake desserts come into the picture, and today, we’ll be diving into an easy no bake banana pudding recipe that’s perfect for anyone in need of a delicious, stress-free dessert.
Why No Bake Desserts are Perfect for Young Professionals
Let’s face it: between meetings, deadlines, and social obligations, time is often a scarce commodity. No bake desserts are a lifesaver in this regard. They require minimal preparation time and don’t heat up your kitchen. Imagine whipping up a delightful dessert in just 30 minutes without turning on the oven!
Here are a few reasons to get excited about no-bake desserts:
- Quick and Simple: Minimal steps mean you can indulge your sweet tooth without the commitment.
- No Cooking Skills? No Problem: You don’t need to be a culinary genius to create impressive desserts.
- Versatile Ingredients: You can often use items you already have at home, such as bananas and cookies.
So, why not treat yourself and impress your friends with this easy no bake banana pudding? It’s a win-win for both your palate and your schedule! For more inspiration, check out this resource on the benefits of no-bake recipes.

Ingredients for Easy No Bake Banana Pudding
Essential Ingredients
Creating a delightful easy no bake banana pudding starts with a few key components. Here’s what you’ll need:
- 2 boxes of vanilla instant pudding mix (3.4 oz each): Ensure you grab the instant kind for quick preparation.
- 3 cups of milk: Any kind will do, but whole milk will give you a creamier texture.
- 16 ounces of frozen whipped topping, thawed: Brands like Cool Whip work wonders.
- 8 ounces of sour cream: This adds a rich creaminess to your puddings.
- 2 boxes of vanilla wafers (11 oz each): Essential for those classic layers.
- 6 large bananas: Opt for ripe but not overripe for perfect flavor.
Optional Add-ins for Tasty Twists
To make your easy no bake banana pudding even more exciting, consider these optional add-ins:
- Chopped nuts: Walnuts or pecans can add a nice crunch.
- Chocolate chips: A sprinkle between layers can elevate the flavors.
- Coconut flakes: For a tropical twist, add unsweetened coconut.
- Caramel syrup: Drizzle it on top before serving for extra sweetness.
Experimenting with these ingredients can produce your own signature pudding! For more tips on flavor combinations, check out this guide on flavor pairings.
Preparing Easy No Bake Banana Pudding
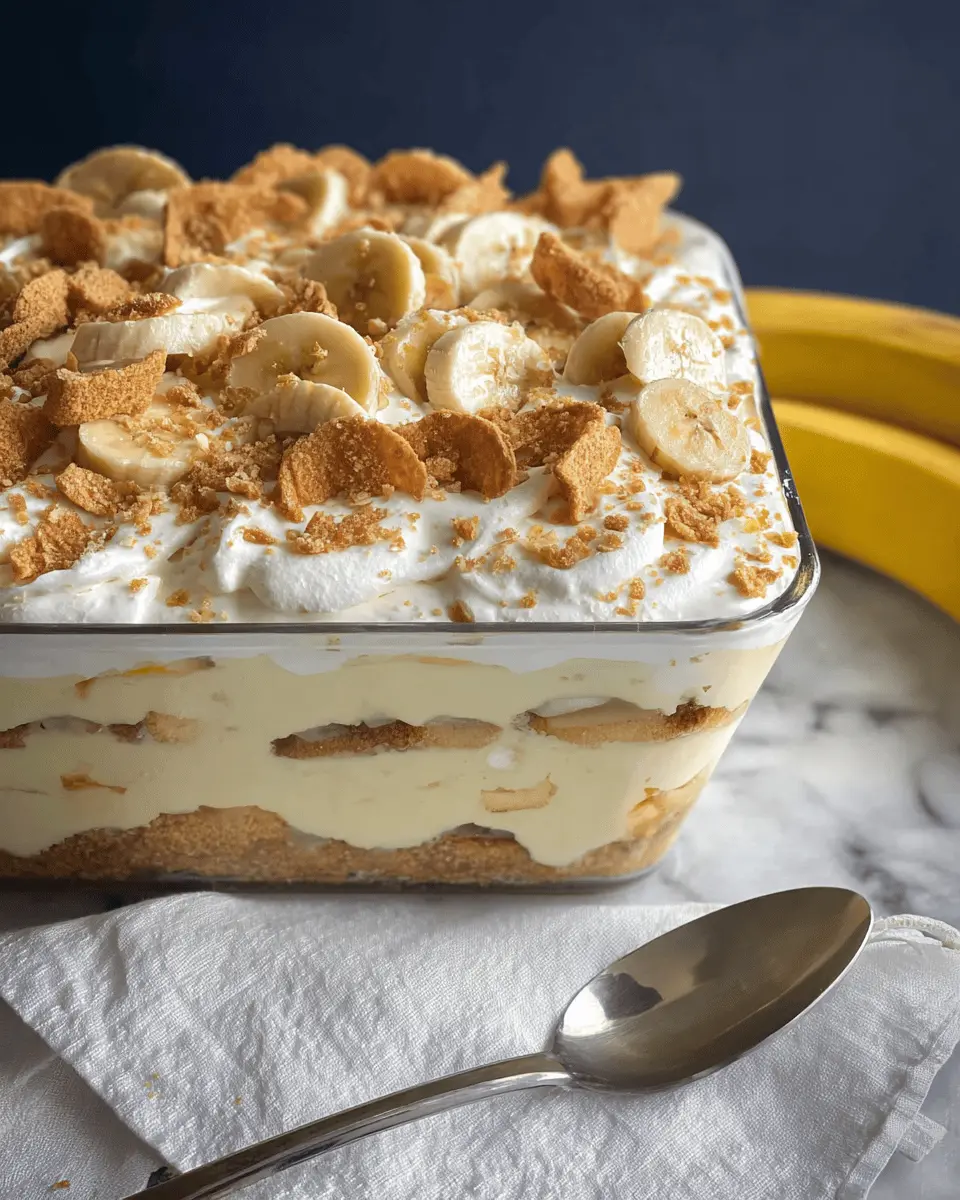
Making easy no bake banana pudding is a fun and straightforward process that’s perfect for anyone looking to whip up a delicious dessert without turning on the oven. Each layer of creamy pudding, fresh bananas, and crisp vanilla wafers comes together beautifully, creating a delightful treat that's bound to impress. Let’s dive into each step of the preparation!
Step 1: Gather and Measure Ingredients
To get started, ensure you have all your ingredients ready. You’ll need:
- 2 boxes of vanilla instant pudding mix (3.4 oz each) – please remember to choose instant, not the cook-and-serve variety.
- 3 cups of milk
- 16 ounces of frozen whipped topping, thawed
- 8 ounces of sour cream
- 2 boxes of vanilla wafers (11 oz each)
- 6 large bananas
Having everything measured out and ready to go will make the process much smoother. Fun fact: Your bananas should be perfectly ripe, a vivid yellow with no green and minimal brown spots, to ensure the best flavor and texture!
Step 2: Whisk the Pudding Mixture
In a large mixing bowl, pour in your measured milk and gradually whisk in the pudding mix. You'll notice it thickening, turning into a creamy pudding that’s just the right consistency. Take your time with this step—slow mixing yields a smoother texture. Once the pudding is ready, stir in the sour cream for that added richness and creaminess.
Step 3: Fold in the Whipped Topping
Next, it’s time to incorporate the whipped topping. Gently fold it into the pudding mixture using a rubber spatula. This step adds air and creates a wonderful fluffy texture. It’s crucial not to overmix; you want the mixture to stay light and airy. You can find some great tips on making your own whipped cream on BBC Good Food.
Step 4: Layer It Up
Now comes the fun part—layering! Start by spreading ⅓ of the pudding mixture into your 13x9 glass baking dish (or a trifle dish if you’re feeling fancy). Next, layer some vanilla wafers atop the pudding, followed by half of your banana slices. Repeat this order again, and finish with a layer of pudding. For a touch of flair, sprinkle some crushed vanilla wafers on top and place additional wafers around the edges of the dish.
Step 5: Chill and Serve
Finally, cover your easy no bake banana pudding and place it in the refrigerator. Let it chill for at least 2 hours before serving—this helps the flavors meld beautifully. Remember, while the pudding is safe to eat for up to three days, it’s best enjoyed within the first 24 hours to keep those bananas fresh and vibrant.
Enjoy your delicious dessert creation, and don’t hesitate to share this recipe with friends and family! Whether you’re having a casual gathering or a special occasion, this banana pudding is sure to be a hit.
Variations on Easy No Bake Banana Pudding
Dairy-Free Banana Pudding
For a creamy, dairy-free banana pudding option, simply substitute the milk with almond or coconut milk, and switch out the sour cream for a plant-based yogurt. You’ll still achieve that velvety texture while making it suitable for those with dairy sensitivities. Plus, when you use dairy-free whipped topping, you'll keep all that lusciousness without any of the dairy!
Chocolate Banana Pudding Delight
If you’re in the mood for something a little more indulgent, why not try a chocolate variation on your easy no bake banana pudding? Add a box of chocolate instant pudding mix into the mix and layer in chocolate wafers instead of vanilla. The rich chocolate combined with ripe bananas creates an irresistible dessert that will leave your friends and family speechless. Try pairing it with a dollop of homemade chocolate whipped cream for an extra special treat!
These simple variations not only keep your dessert game exciting but also cater to diverse dietary preferences.
Cooking Tips and Notes for Easy No Bake Banana Pudding
Perfecting Banana Ripeness
For the best flavor and texture in your easy no bake banana pudding, choose bananas that are perfectly ripe—bright yellow with just a hint of brown spots. This stage ensures they are sweet enough to complement the creamy pudding. If your bananas are still green, give them a couple of days at room temperature to ripen.
How to Prevent Browning Bananas
To keep your bananas looking fresh in your no bake banana pudding, toss the sliced bananas in a bit of lemon juice before layering. The acidity helps slow down oxidation, preventing those pesky brown spots! Another tip? Use fresh bananas as close to serving time as possible for that vibrant look and flavor. For more tips on storing bananas, check out this article from Healthline.
Serving Suggestions for Easy No Bake Banana Pudding
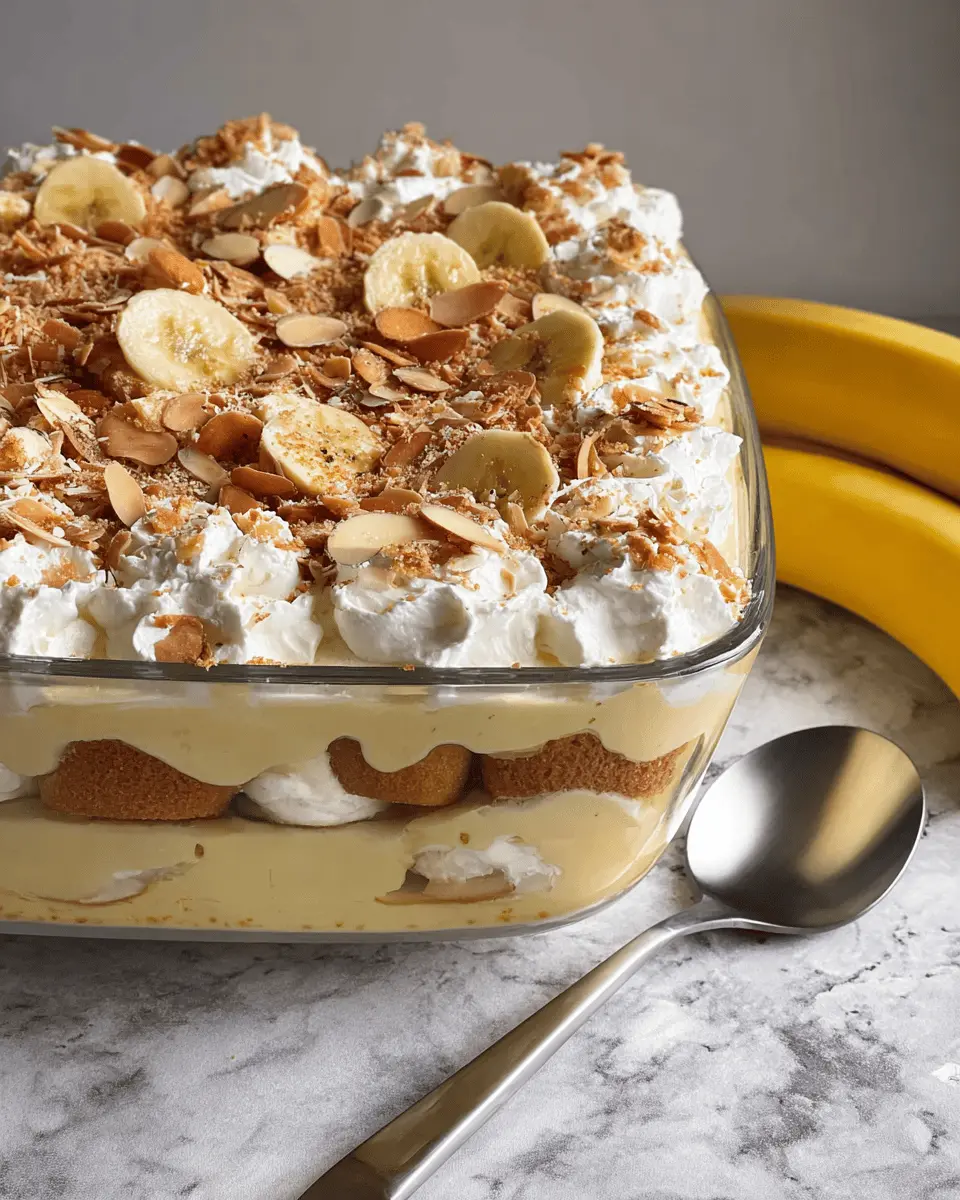
Fun Presentation Ideas
Elevate your easy no bake banana pudding with delightful presentation ideas. Consider layering individual servings in mason jars for a charming touch, or using clear cups to showcase the beautiful layers. Top each serving with extra banana slices and a dollop of whipped topping, garnished with a sprig of mint. You might even add a drizzle of caramel or chocolate syrup for a trendy twist that impresses guests!
Pairing with Other Desserts
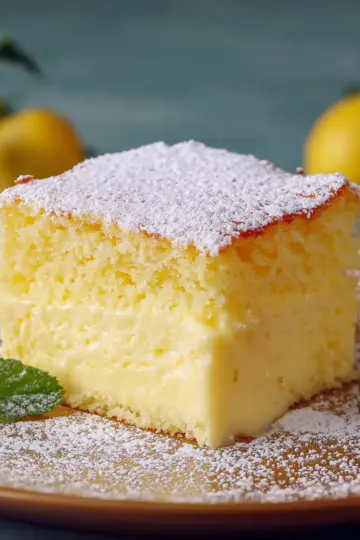
Balance the creaminess of easy no bake banana pudding by pairing it with a light dessert. Homemade lemon bars or a fruit salad would complement the richness nicely. Alternatively, serve it alongside a slice of moist carrot cake or a scoop of vanilla ice cream for a delightful dessert trio. This way, you can cater to various tastes while ensuring your banana pudding shines as the star of the show. For more pairing inspirations, check out this guide from Food Network.
Time Breakdown for Easy No Bake Banana Pudding
Preparation Time
Getting started on this easy no bake banana pudding takes just about 30 minutes. You’ll mix the pudding, fold in the whipped topping, and layer in your bananas and vanilla wafers. It’s fun and quick!
Chilling Time
Once assembled, allow the dessert to chill in the refrigerator for at least 4 hours, or ideally overnight. This step is crucial; it lets the flavors meld beautifully and gives the pudding the perfect texture.
Total Time
In total, you're looking at about 4.5 hours, including prep and chilling. It’s an easy commitment for a delightful treat that everyone will love! If you're curious about the science behind chilled desserts, you can check out Serious Eats for more information. Plus, if you're looking for more banana recipes, Food Network has a great collection here.
Nutritional Facts for Easy No Bake Banana Pudding
When indulging in this easy no bake banana pudding, it’s essential to know what you’re treating yourself to. Each serving contains 221 calories, primarily from sugars and fats, making it a delicious dessert but one to enjoy in moderation.
Calories and Sugar Content
- Calories: 221 kcal per serving
- Sugar: 21g
This pudding is sweetened primarily by the pudding mix and bananas, so you get a delightful flavor without needing extra sugar. A great option for a simple dessert!
Protein and Fiber
- Protein: 4g
- Fiber: 2g
While not a heavy protein source, the addition of banana provides some fiber, making it a bit more satisfying. Overall, this easy no bake banana pudding treats you to a lovely balance of flavors and textures, perfect for any occasion.
For more detailed nutritional insights, consider checking resources like the USDA Nutrient Database or NutritionData.
FAQs about Easy No Bake Banana Pudding
Can I make this ahead of time?
Absolutely! This easy no bake banana pudding is perfect for making ahead. You can prepare it up to a day in advance and let it chill in the refrigerator. Just remember that while the flavors will meld beautifully, the bananas may start to brown, so plan accordingly for the freshest look and taste.
How long will leftovers last?
If you happen to have any leftovers (which is rare!), cover and store them in the fridge. They’ll be good for up to three days, although the bananas may lose their appeal after the first 24 hours. As always, taste before serving—if it smells fresh, it’s likely still tasty!
What can I substitute if I don't have banana wafers?
Not a fan of banana wafers? No problem! You can easily swap them with graham crackers, shortbread cookies, or even crushed-up gingersnaps for a twist. Just make sure to layer them appropriately for that satisfying crunch! For more ideas on substitutions, check out this cookie guide.
Conclusion on Easy No Bake Banana Pudding
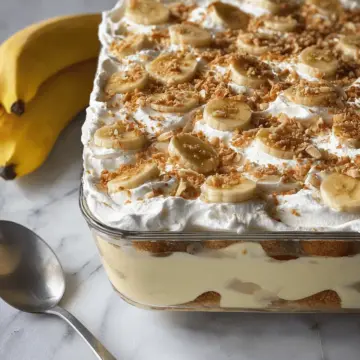
In conclusion, this easy no bake banana pudding is a crowd-pleaser that blends simplicity with delightful flavors. Perfect for gatherings or a quick weeknight treat, it’s a nostalgic dessert that everyone will love. Ready in just 30 minutes, it’s hard to resist seconds!
Easy No Bake Banana Pudding
Equipment
- 13x9 Glass Baking Dish
- 4-Cup Glass Measuring Cup
Ingredients
Pudding Mixture
- 2 boxes vanilla instant pudding mix (3.4 oz each) Make sure you get the instant kind, NOT cook and serve.
- 3 cups milk
- 16 ounces frozen whipped topping thawed
- 8 ounces sour cream
Layers
- 2 boxes vanilla wafers (11 oz each)
- 6 large bananas fresh and perfect ripe
Instructions
Preparation
- In a large mixing bowl, gradually whisk milk into instant pudding mix until you have a creamy pudding. No electric mixer is needed. Stir in the sour cream. Using a whisk, stir the whipped topping into the pudding mixture until it's mostly combined. Continue folding it in with a rubber spatula until all of the whipped topping is combined.
- Spread ⅓ of the pudding mixture into a 13x9 pan (or trifle dish). Add a layer of vanilla wafers on top of the pudding. Then add half of the fresh banana slices. Repeat process. Then finish with one more layer of pudding mixture and crumbled cookies on top. Place more crisp vanilla wafers around the edges.
- Store covered in refrigerator for up to 3 days. Dessert is best served in the first 24 hours as the bananas will start to turn brown after that, although they will still be safe to eat for another few days.

Leave a Reply