
Introduction to Grilled Cheese Roll Ups
Why Grilled Cheese Roll Ups Are the Ultimate Comfort Food
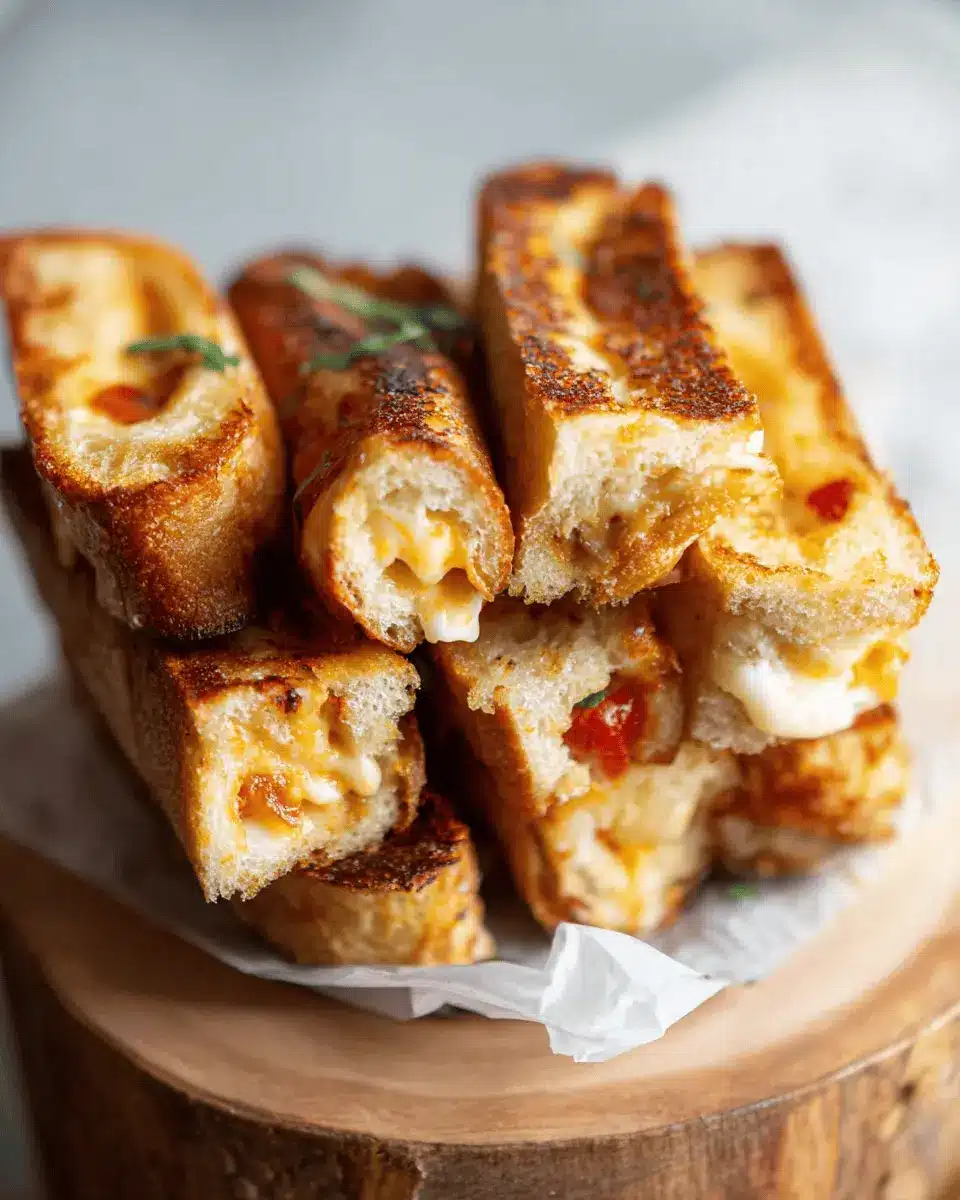
If you’re on the hunt for that nostalgic burst of comfort, look no further than grilled cheese roll ups. These delightful bites combine the classic unbeatable flavors of melted cheese and toasted bread, but with a fun twist! The beauty of this dish lies in its simplicity and versatility. Imagine sinking your teeth into a crispy exterior revealing warm, gooey cheese—it's comfort food at its finest.
The texture is a game changer. The soft white bread is ideal to roll up, creating a delightful crunch while keeping the cheese perfectly melted inside. Whether you’re enjoying these with a bowl of homemade tomato soup or sharing them at a gathering, grilled cheese roll ups spark joy and satisfaction.
Moreover, they’re incredibly customizable; feel free to experiment with different cheeses or add in ingredients like turkey bacon or chicken ham for an extra savory kick. It’s a dish that’s not just for kids—adults love these savory snacks too!
So, why not treat yourself? These grilled cheese roll ups can bring that comforting warmth into your home with just a few simple ingredients and minimal effort. Get ready to enjoy each crispy bite!

Ingredients for Grilled Cheese Roll Ups
When it comes to making the perfect grilled cheese roll ups, having the right ingredients is key. This delightful snack is not only easy to whip up but also packs a cheesy punch that will leave you craving more!
Essential ingredients for perfect roll ups
To create the best grilled cheese roll ups, here are the essential ingredients you'll need:
- Soft White Bread: Opt for 8 thick slices. This is crucial for easy rolling without tearing. Avoid firm varieties like sourdough!
- Cheddar Cheese: You’ll need about 1.5 cups (150g) of finely grated cheddar for that ooey-gooey texture that everyone loves.
- Butter: Melted butter adds richness and helps that crispy golden finish. About 2 tablespoons should do.
Optional ingredients for added flavor
Want to jazz up your grilled cheese roll ups? Here are some optional ingredients that can elevate your snack:
- Turkey Bacon or Chicken Ham: Add a slice for a savory twist!
- Pesto: Spread a thin layer for an herby note.
- Marmite: A thin smear can enhance the umami flavor.
- Different Cheeses: Feel free to experiment with mozzarella, Gruyere, or even a blend for varied taste.
Get your ingredients ready, and let’s make some delicious grilled cheese roll ups that will impress your friends and family! For more cheese inspiration, check out this guide from Cheese.com.
Step-by-step Preparation of Grilled Cheese Roll Ups
Making grilled cheese roll ups is not only fun but also incredibly satisfying. With this step-by-step guide, you’ll be able to whip up these cheesy delights in no time. Let’s dive into the preparation!
Gather and prep your ingredients
Before you start, ensure you have all the necessary ingredients and tools ready. For this recipe, you’ll need:
- 8 thick slices of soft white bread
- 1.5 cups of finely grated cheddar cheese
- 2 tablespoons of melted butter
In terms of equipment, gather a bread knife, chopping board, small pot for melting butter, a brush, a non-stick pan, tongs, a rolling pin, and a fine cheese grater. Having everything at hand will streamline your process and keep the fun going!
Trim and flatten the bread
Begin by trimming off the crusts of your bread slices. This will not only make your roll ups more visually appealing but will also ensure they roll smoothly. After trimming, grab your rolling pin and flatten each slice of bread to about a quarter of an inch thick. This step is crucial; it allows for easy rolling and a better cheese-to-bread ratio. Think of it as creating a blank canvas for your cheesy masterpiece!
Add cheese and roll them up
Now comes the exciting part: adding the cheese! Sprinkle a generous amount of grated cheddar on each slice, leaving a small strip at one end to brush with butter later. This strip will act like glue when you roll them up. Tightly yet carefully roll each slice from the cheese end towards the buttered edge. Once rolled, brush that uncheesed edge with melted butter to seal it shut. Place each roll seam-side down to maintain their shape while you prepare to cook.
Brush with butter and chill
To ensure they cook evenly and achieve that golden-brown exterior, brush the rolled-up beauties all over with melted butter. This step adds flavor and helps create that irresistible crispy texture. Once brushed, place the roll ups in the refrigerator for about 10 minutes. Chilling them helps set the shape and keeps the cheese from spilling out too much during cooking. It’s a small but effective trick!
Cook your roll ups to gooey perfection
Heat a non-stick pan over low-to-medium heat and gently place your roll ups seam-side down. Cook until golden and crispy, carefully turning them with tongs to ensure all sides achieve that perfect color. This usually takes about 8-10 minutes, and you might want to do this in batches depending on the size of your pan. The result? Cheesy goodness with every bite.
And there you have it! Follow these easy steps, and you'll have delicious grilled cheese roll ups ready to pair perfect with a warm bowl of tomato soup or enjoy on their own. Who's ready to dig in?

Variations on Grilled Cheese Roll Ups
Add turkey bacon for a savory twist
Ready to take your grilled cheese roll ups to the next level? Try adding crispy turkey bacon for a delightful savory kick! Its smoky flavor pairs beautifully with melted cheese, creating a satisfying crunch that contrasts perfectly with the softness of the bread. Simply cook the turkey bacon until crisp, chop it finely, and sprinkle it inside the cheese before rolling.
Incorporate chicken ham for a protein boost
For those looking to amp up the protein in their grilled cheese roll ups, consider chicken ham. This lean option adds a delicious, meaty layer that complements the cheese without overwhelming it. Just layer some slices right on top of the cheese, roll it up tightly, and grill until golden. It’s a tasty way to feel fuller longer!
Try a pesto spread for added flavor depth
If you're in the mood for some herbaceous flair, a thin spread of pesto inside your grilled cheese roll ups can work wonders. The vibrant flavors of basil and garlic not only enhance taste but also bring a gourmet touch to this classic dish. Just layer a thin spread on the bread before adding cheese, roll up, and grill! It’s an easy way to impress at your next lunch gathering.
With these variations, every bite will be an exciting adventure!
Cooking Tips and Notes for Grilled Cheese Roll Ups
Choosing the Right Bread for Optimal Rolling
For the perfect grilled cheese roll ups, stick with soft white sandwich bread. This choice ensures you can roll without cracking. Avoid firmer breads like sourdough and steer clear of seeded varieties that can disrupt the smooth rolling process.
Best Types of Cheese for a Gooey Finish
When it comes to cheese, nothing beats the classic gooeyness of finely grated Cheddar. However, feel free to mix it up with Monterey Jack or Gruyere for an extra flavor punch! If you prefer, thin slices of mozzarella can also work wonderfully. The key is to ensure the cheese melts beautifully, making each bite irresistibly melty and cheesy.
Experiment with your favorites and discover what cheesy delights you can create! Want to add a bit more adventure? Check out this guide on the best cheeses for grilled cheese sandwiches for more tasty ideas.
Serving Suggestions for Grilled Cheese Roll Ups
Pair with homemade tomato soup for dipping
What’s better than grilled cheese roll ups? Dipping them in a warm, homemade tomato soup! The classic combination makes for a cozy lunch or snack experience. You can whip up a simple tomato soup in no time—just roast some tomatoes, blend them with garlic and onions, and voilà! Serve your roll ups alongside the soup for that delightful cheesy soak.
Enjoy alongside a light salad for balance
For a more balanced meal, consider serving your grilled cheese roll ups with a fresh, light salad. A crisp mix of greens, cherry tomatoes, and a zesty vinaigrette can elevate your dish, providing a refreshing contrast to the rich, cheesy goodness. It's a perfect way to feel satisfied without feeling weighed down.
Time Breakdown for Grilled Cheese Roll Ups
Creating your grilled cheese roll ups is a breeze, taking only 30 minutes from start to finish. Here’s a handy guide to help you plan your cooking session:
Prep Time: 15 Minutes
Get your ingredients ready and do a little slicing. Take your time to ensure the bread is properly flattened and the cheese is evenly distributed.
Cook Time: 15 Minutes
Watch those roll ups sizzle! Fry them until golden and delicious, turning them frequently for that perfect crispiness.
Total Time: 30 Minutes
In just half an hour, you'll have scrumptious, cheesy roll ups ready to serve—perfect for lunch or as a delightful side dish. Quick, easy, and oh-so-satisfying!
For more inspiration, check out this guide on cheese pairings to elevate your grilled cheese experience.
Nutritional Facts for Grilled Cheese Roll Ups
Total Calories per Serving
Each serving of these delightful grilled cheese roll ups clocks in at just 157 calories. Perfect for a quick lunch or a snack, they are delicious without compromising your calorie goals.
Key Nutritional Components
These little bites are not only tasty but also a good source of energy:
- Fat: 9.76g (15% Daily Value)
- Saturated Fat: 5.44g (34% Daily Value)
- Protein: 6.98g (14% Daily Value)
Incorporating these grilled cheese roll ups into your meal plan provides a satisfying combination of flavor and nutrition. You can feel good about enjoying them alongside a warm bowl of Tomato Soup or even with a hearty salad. They truly hit the spot!
For more information on a balanced diet, check out the USDA's Dietary Guidelines. Enjoy your cheesy goodness!
FAQs about Grilled Cheese Roll Ups
What if I don’t have soft white bread?
No soft white bread? No problem! While the traditional recipe works best with it, you can consider alternatives like potato bread or flatbreads. Just ensure they're soft enough to roll without cracking. Avoid using crusty bread, as it won’t roll up properly.
Can I make these in advance?
Absolutely! Grilled cheese roll ups can be made in advance and stored in the fridge for up to 2 days. For optimal freshness, it's best to reheat them on a pan to regain that crispy texture. Just brush with a little butter while reheating to enhance the flavor!
What are some creative dips for roll ups?
The world of dipping sauces is wide open! Try pairing your grilled cheese roll ups with these delicious options:
- Salsa for a zesty twist
- Ranch dressing for that creamy goodness
- Honey mustard for a sweet and savory contrast
- Classic tomato soup always makes a great pairing!
Experimenting with different dips can turn your meal into a delightful experience!
Conclusion on Grilled Cheese Roll Ups
In summary, grilled cheese roll ups make a delightful and easy addition to your lunch or snack routine. With their cheesy goodness and endless customization options, it's no wonder they’re a favorite! Whether enjoyed solo or with a savory dip like tomato soup, these roll ups are sure to impress!

Grilled Cheese Roll Ups
Equipment
- Bread Knife & Chopping Board
- Small Pot & Brush
- Non-Stick Pan & Tongs
- Rolling pin
- Fine Cheese Grater
Ingredients
Bread
- 8 slices Soft White Bread use soft white sandwich bread, avoid firm or seeded bread
Cheese
- 1.5 cups Cheddar finely grated
Butter
- 2 tablespoon Butter melted (or as needed)
Instructions
Preparation
- Slice the crusts off of each slice of bread, then use a rolling pin to flatten.
- Add a pinch of cheese to each slice, leaving a small strip at the end to brush with butter.
- Tightly roll up each slice to the end, brush with butter, then roll shut and place seam-side-down. Brush all over with butter.
Cooking
- Add roll ups to a dry pan seam-side-down over low-medium heat and fry until golden all over with the cheese starting to leak out. Use tongs to frequently turn them.
- You may need to do this in two batches depending on the size of your pan.


Leave a Reply