
Introduction to Simple Blanched Green Beans
Why Simple Blanched Green Beans Are a Game Changer for Young Professionals
Young professionals often find themselves navigating the delicate balance between busy schedules and maintaining a healthy lifestyle. This is where simple blanched green beans come in as a culinary lifesaver. In just 20 minutes, you can whip up a side dish that not only looks vibrant but also retains its essential nutrients. Packed with fiber and vitamins, these beans are the perfect addition to your meals, whether you're hosting friends or enjoying a quiet evening at home.
Imagine coming home after a long day, tired and hungry. Instead of reaching for a takeout menu, you can easily prepare these fresh green beans. The quick blanching process retains their crisp texture and bright green color, ensuring your meal looks as good as it tastes. Not to mention, they can be served hot or cold, making them versatile for any occasion.
Want more culinary inspiration? Check out the benefits of eating seasonal vegetables at Eat Seasonably or discover easy meal prep tips for your busy week at Meal Prep on Fleek. With these simple blanched green beans in your cooking repertoire, you'll elevate your home dining experience effortlessly!
Ingredients for Simple Blanched Green Beans
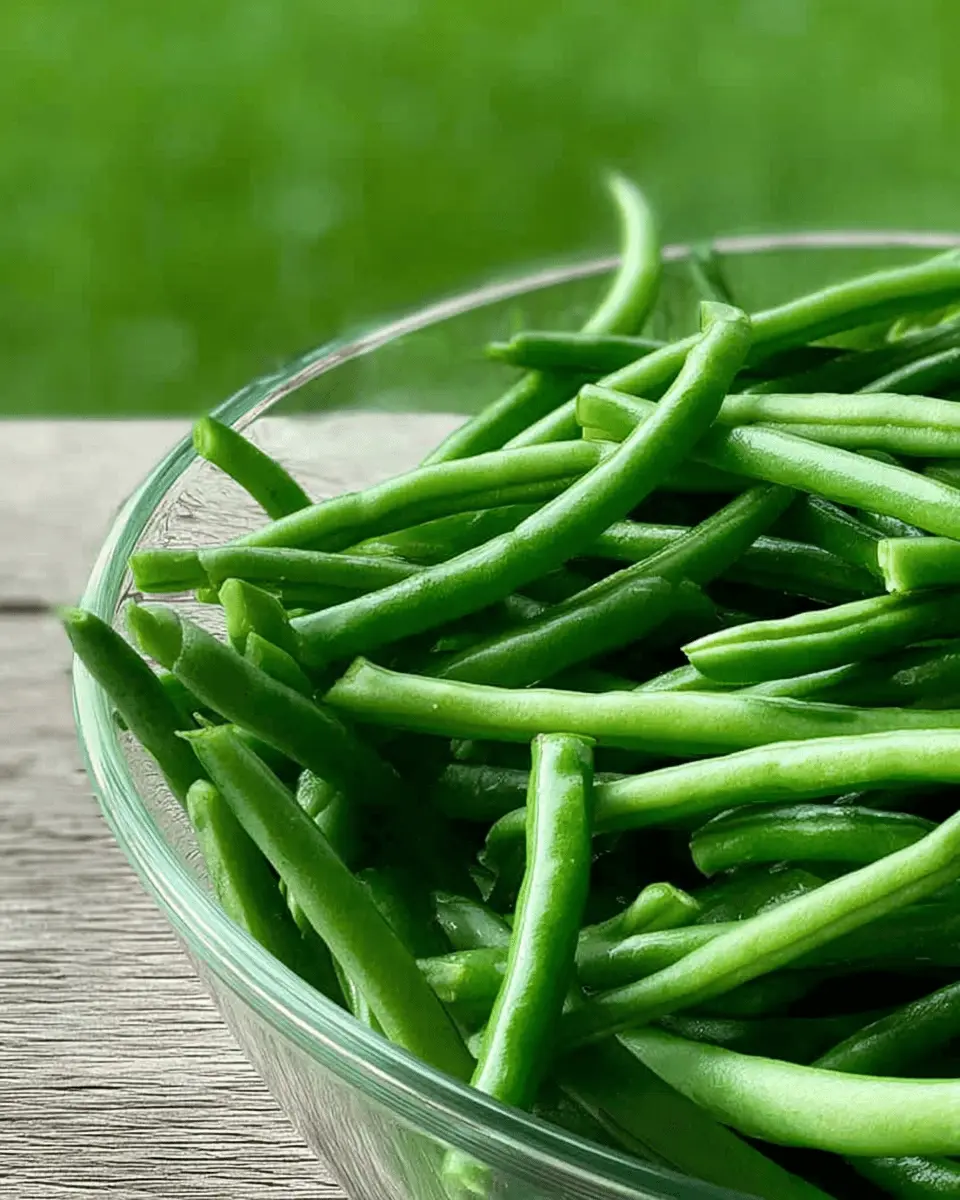
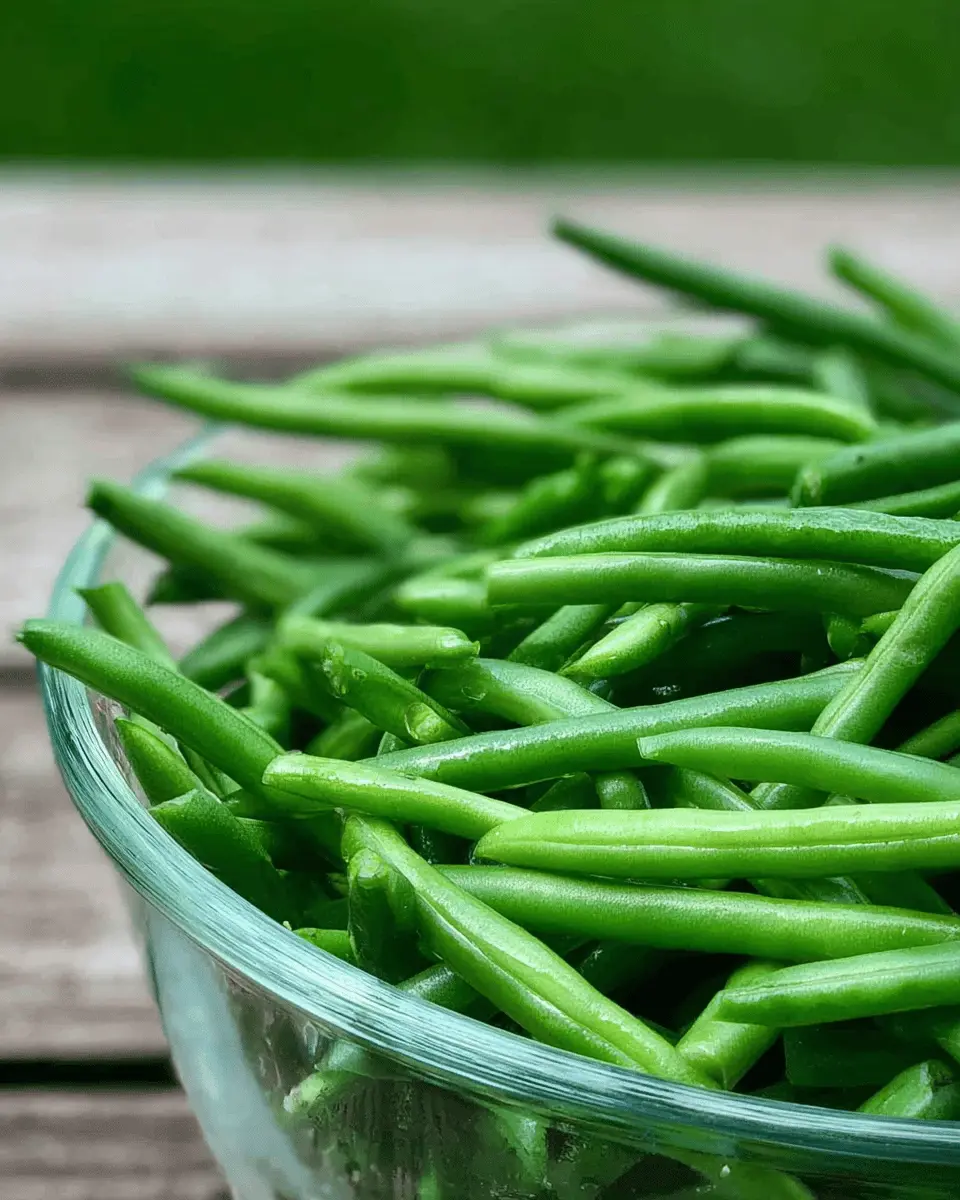
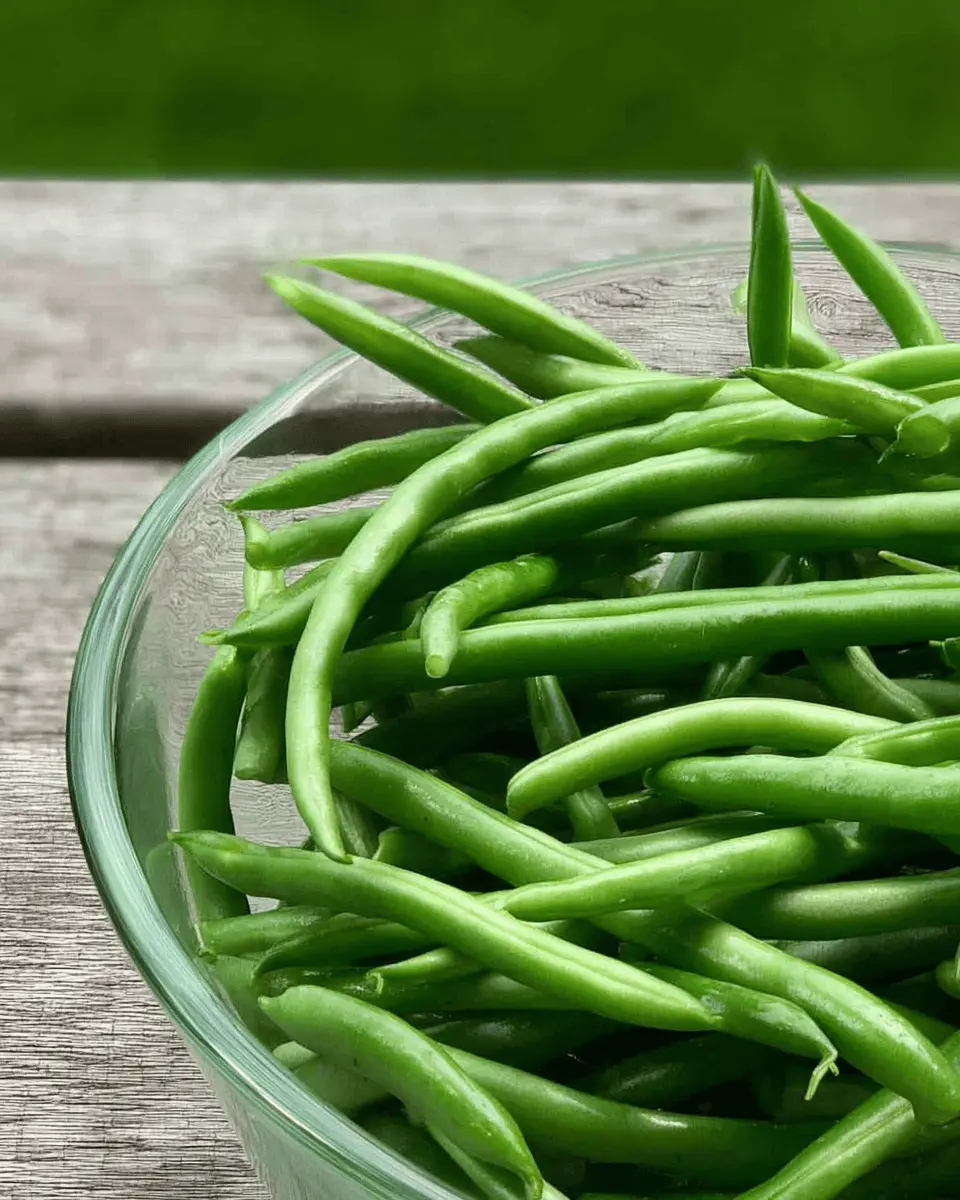
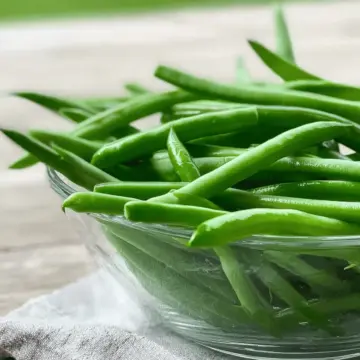
Essential ingredients for blanched green beans
To create delicious simple blanched green beans, you won’t need much. Here's what you'll want to gather:
- 1 lb fresh green beans: Look for the thinnest ones available, as they maintain that perfect crunch. If you can, choose locally sourced beans for optimal flavor.
- Kosher salt: This is key to seasoning the water, ensuring every bite of your beans is tasty.
- Water: You’ll need a good amount to create a rolling boil for blanching.
Equipment you'll need
Having the right tools makes the process even smoother. Here’s some essential equipment:
- Large pot: For boiling the water.
- Tongs: To safely retrieve the beans from the boiling water.
- Ice bath: A large bowl filled with ice water helps stop the cooking process and locks in that vibrant green color.
For additional cooking tips, check out resources like Culinary Institute of America or America's Test Kitchen.
Step-by-step preparation for Simple Blanched Green Beans
Cooking simple blanched green beans is an effortless way to bring bright, vivid flavors to your table. This preparation method is not only quick but also enhances the healthy aspects of this delightful vegetable. Let’s dive into it!
Prep your beans like a pro
To start, make sure you have a pound of fresh green beans, preferably the thinner variety, as they will cook more evenly. Begin by rinsing them under cold water to remove any dirt or impurities. Next, trim the woody stem ends—this will help the beans cook more thoroughly. Don’t worry about the little “tail” end; it adds character and crunch to your dish. With your beans prepped, you're setting yourself up for success in what’s to come.
Get that water boiling
While prepping your beans, take a large pot and fill it with water, adding about one tablespoon of kosher salt for each quart. This seasoning is crucial, as it infuses the beans with flavor during cooking. Turn the heat to high and bring that water to a vigorous boil. You’ll know it’s ready when you see those good, wholesome bubbles forming. If you’d like a visual aid on boiling techniques, resources like Serious Eats can help!
Master the blanching technique
Once your water is boiling, it’s time to use that bubbling goodness to your advantage. Carefully drop your green beans into the pot, ensuring they’re fully submerged. You’ll want to return the water to a boil as quickly as possible to maintain that ideal cooking temperature. The blanched green beans should cook for about 2 to 5 minutes, depending on their thickness; the goal is to achieve that crisp-tender texture while keeping them a vibrant green.
Ice bath magic
After your beans have reached the perfect doneness, it’s essential to stop the cooking process to preserve their color and crunch. To achieve this, prepare an ice bath in a large bowl filled with cold water and ice. Using tongs, transfer the hot beans directly into this icy mixture. This dramatic temperature swing works wonders in keeping your simple blanched green beans looking fresh and edible.
Finishing touches for serving
Now for the best part—serving! If you plan to enjoy your beans right away, drain them from the ice bath and toss them in a little olive oil or butter, sprinkling salt and pepper to taste. Alternatively, if you’re preparing for later use, pat the cooled beans dry and roll them in a towel, storing them in the fridge. Whatever your choice, these beans will complement any meal beautifully. For added flair, consider roasting them or tossing them into salads for a refreshing crunch!
With these steps in hand, you’re ready to whip up simple blanched green beans that are not only visually appealing but also delicious and nutritious. Enjoy!
Variations on Simple Blanched Green Beans
Adding flavor with herbs and spices
Elevate your simple blanched green beans by tossing them with your favorite herbs and spices! Try adding minced garlic and red pepper flakes for a little kick, or perhaps some fresh thyme and lemon zest for a refreshing twist. Experimenting with seasoning can transform a basic side dish into something extraordinary. Consider sprinkling some grated parmesan on top for a savory finish or adding a splash of balsamic vinegar for depth.
Creating a tasty salad with blanched green beans
Blanched green beans serve as a wonderful base for vibrant salads. Combine them with cherry tomatoes, sliced red onion, and feta cheese for a colorful dish. Drizzle with a simple olive oil and lemon dressing to tie it all together. You can also mix in nuts like almonds or walnuts for added crunch and nutrition. This way, your simple blanched green beans become not just a side but a delightful centerpiece for any meal!
Cooking tips and notes for Simple Blanched Green Beans
Troubleshooting common issues
Sometimes, blanched green beans can be tricky. If they turn out soggy, it’s likely due to overcooking. Keep a close eye on them; they should be crisp-tender and vibrant in color. For a perfectly simple blanched green beans dish, adhere to the 2-5 minute cooking window. If they lose their bright green hue, make sure you’re plunging them into an ice bath promptly—this stops the cooking process rapidly.
Storing and reheating blanched green beans
To enjoy your delicious blanched green beans later, store them rolled up in paper towels inside a plastic bag in the fridge. They can last about 5 days. When it comes time to reheat, a quick sauté in olive oil or butter in a pan for just a few minutes can revitalize their flavor. Alternatively, you can roast them in the oven at 400°F for 8-10 minutes—great for achieving a tasty, caramelized finish. For more storage tips, check out this great source.
Serving suggestions for Simple Blanched Green Beans
Plating Simple Blanched Green Beans for Dinner Parties
When showcasing simple blanched green beans at dinner parties, presentation is key. Consider serving them in a chic serving bowl, perhaps drizzled with a splash of olive oil and a sprinkle of flaky sea salt for a gourmet touch. You might also add toasted almonds or walnuts for texture and flavor. For an eye-catching dish, pair the green beans with bright cherry tomatoes or roasted bell peppers. Not only do these colors complement the green beans, but they also create an inviting and elegant centerpiece for your table.
Fun Ideas for Incorporating Blanched Green Beans into Meals
Incorporating simple blanched green beans into your daily meals can be both fun and nutritious. Toss them into a salad with mixed greens, diced chicken, and a zesty lemon vinaigrette, creating a refreshing and crunchy treat. You can also mix them into stir-fries or grain bowls, adding vibrant color and a delightful snap. For a protein-packed snack, try blending the green beans into a smoothie for an extra boost, or pair them with hummus for a satisfying crunch. Flexibility is the name of the game, so don’t hesitate to get creative!
For more inspiration, check out this guide on healthy eating from the Academy of Nutrition and Dietetics.
Time Breakdown for Simple Blanched Green Beans
Preparation Time
Getting your ingredients ready takes about 10 minutes. This includes washing the green beans and trimming the ends. A great way to start meal prep efficiently!
Cooking Time
Once your pot of water is boiling, it only takes 5 minutes to cook the green beans until they're crisp-tender and vibrantly green. Super quick!
Total Time
In just 20 minutes, you can have a delightful side dish of simple blanched green beans ready to serve. Perfect for busy days or as a joyful addition to your meal!
For more on cooking methods, check out this article for a deep dive into blanching techniques that work wonders on various vegetables!
Nutritional Facts for Simple Blanched Green Beans
Understanding the nutritional benefits of simple blanched green beans can enhance your meals. Here’s a breakdown of their key nutritional components:
Calories
A one-cup serving of blanched green beans contains approximately 44 calories. They’re a fantastic low-calorie option that won’t derail your healthy eating efforts.
Dietary Fiber Content
Green beans are a notable source of dietary fiber, offering about 4 grams per cup. This helps support digestive health and can keep you feeling fuller longer, making them a great addition to any meal.
Vitamins and Minerals
These vibrant vegetables are packed with essential nutrients, including:
- Vitamin C: Boosts your immune system.
- Vitamin K: Supports bone health.
- Folate: Important for cell division and overall health.
Incorporating simple blanched green beans into your diet not only adds color to your plate but also delivers valuable health benefits. For more nutritional information and depth, check out resources like NutritionData or USDA FoodData Central. Happy cooking!
FAQ about Simple Blanched Green Beans
What is the best way to choose fresh green beans?
When selecting fresh green beans, look for those that are vibrant green, firm, and straight. Avoid beans that have blemishes or are overly soft. Ideally, you want to choose thin green beans, as they tend to cook more evenly and maintain that delightful crunch. If you can, buy them from local farmers' markets or organic stores for the freshest taste!
Can I blanch green beans ahead of time?
Absolutely! Blanching ahead of time is a fantastic way to prepare your simple blanched green beans for meal prep. Just cook them, cool them in an ice bath, and then store them in an airtight container in the fridge for up to five days. This way, you have perfectly blanched beans ready to toss into salads or reheat as a side dish.
How can I enhance the flavor of blanched green beans?
To elevate the flavors of your simple blanched green beans, consider drizzling them with olive oil or melted butter, and sprinkle with kosher salt and freshly ground pepper. You could also add a squeeze of lemon juice for freshness, or top them with roasted garlic or toasted almonds for a delightful crunch. If you crave more depth, try adding a sprinkle of Parmesan or some herbs like thyme or rosemary!
For more tips on cooking vegetables, check out resources like The Spruce Eats for great ideas!
Conclusion on Simple Blanched Green Beans
Creating simple blanched green beans is a fabulous way to enjoy this nutritious veggie while preserving its vibrant color and crunch. Whether you’re serving them warm as a side or chilling them for a salad, this technique is both versatile and easy. Give it a try and elevate your meals!
Simple Blanched Green Beans
Equipment
- large pot
- tongs
- bowl
Ingredients
- 1 lb fresh green beans, preferably thin
- 1 tablespoon kosher salt
- water
Instructions
- Bring a large pot of salted water to a boil while you prep your beans.
- Wash beans and remove the woody stem ends (it's ok to leave the little 'tail' end).
- When water is at a rolling boil, add the beans, return to a boil and let them go until they're crisp tender and still bright green. This will take from 2 to 5 minutes, depending on the thickness of your beans.
- If serving immediately, drain, season with olive oil or butter, salt and pepper and enjoy!
- If you're making them ahead or want to serve them cold, remove with tongs and immediately plunge them into an ice bath until completely cooled.


Leave a Reply