
Introduction to Cake Pops Facile
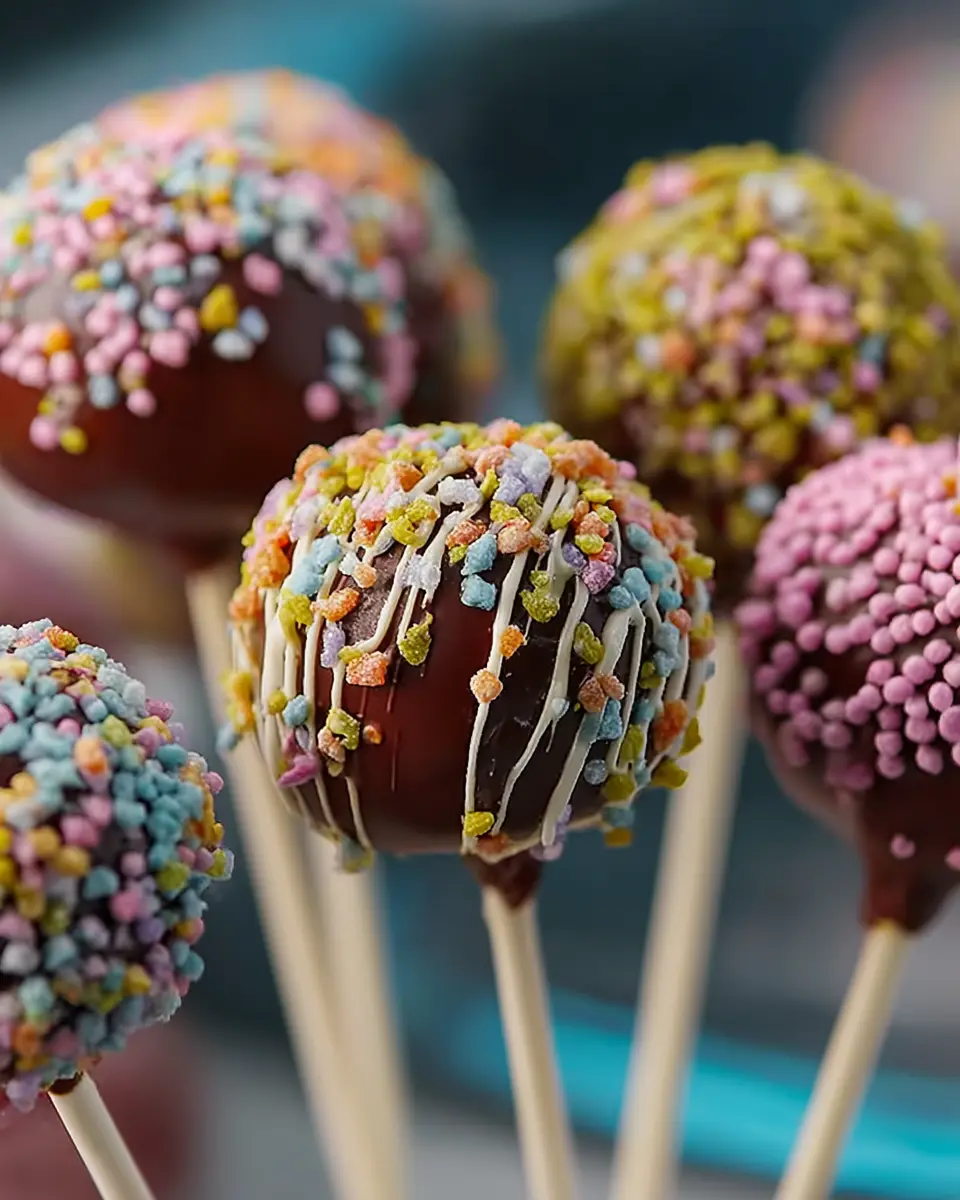
Are you looking for a creative and delightful treat that will wow your friends and family? Look no further than cake pops facile! These charming little desserts combine the rich flavors of cake with the joy of candy, making them the perfect sweet bite for any occasion.
Why Cake Pops Are the Ultimate Homemade Treat?
Cake pops are versatile, eye-catching, and simple to make, which makes them an unrivaled contender for homemade treats. The process is as enjoyable as eating them, allowing you to unleash your creativity with fun decorations. They are fantastic for birthdays, holidays, or just because you feel like satisfying your sweet tooth.
Plus, the beauty of cake pops lies in their adaptability. You can mix and match flavors and coatings, experiment with different chocolates like dark, milk, or white, and adorn them with colorful sprinkles or even edible glitter. According to many baking enthusiasts, the key is to achieve that perfect balance between moist cake and smooth coating—an art easily mastered with our cake pops facile recipe.
Whether you're an experienced baker or a kitchen novice, cake pops offer a delicious canvas for your creativity. So roll up your sleeves, gather your ingredients, and let’s make some magic happen in the kitchen! For a comprehensive guide on the steps required, don’t forget to check out our full recipe below. You won’t regret it!

Ingredients for Cake Pops Facile
Key ingredients for perfect cake pops
To create delightful cake pops facile, you'll first need a few essential ingredients. Here’s what you’ll need for this simple yet delicious recipe:
- 1 Quatre-quarts: This moist cake serves as the base for your pops. Feel free to experiment with flavor variations!
- 3 tablespoons of Mascarpone: This creamy cheese adds richness and helps bind the cake crumbs together.
- 200 g of Chocolate: The star of the show. Choose between dark, milk, or white chocolate based on your taste preference.
- Wooden sticks: These will help transform your cake balls into fun, portable treats.
Optional decorative toppings and variations
To elevate your cake pops, think about adding a sprinkle of creativity! Consider these options for decorating:
- Chocolate drizzles: Use melted chocolate for a beautiful finish.
- Sprinkles: From colorful to metallic, the choices are endless!
- Chopped nuts: Pecans or almonds can add a delightful crunch.
- Coconut flakes: These provide a tropical vibe and a chewy texture.
For more inspiration, check out this guide on cake pop decorating ideas. Enjoy experimenting!
Preparing Cake Pops Facile
Creating delightful cake pops facile at home is easier than you might think! Follow these simple and fun steps to bring your sweet treats to life, perfect for any celebration or just a lovely afternoon snack.
Crumble the cake
Start with an irresistible base: a classic quatre-quarts! Once it’s baked and completely cooled, break the cake into fine crumbs using your hands or a food processor. This step is essential as it will form the foundation of your cake pops. You want a consistent texture, so make sure there are no large chunks left. The finer the crumbs, the smoother your cake pops will be!
Mix in mascarpone
Now it’s time to make things creamy. Add 3 tablespoons of mascarpone to the crumbled cake. Mixing these by hand is not only effective, but it's also quite therapeutic! Keep kneading until it's fully integrated and the mixture holds together when pressed. The mascarpone not only adds moisture but also richness that elevates the flavor profile.
Shape the cake balls
With your mixture ready, it’s shaping time! Take small portions of the cake mixture and roll them into tight balls—about the size of a tablespoon works perfectly. You should aim for uniformity here, as it ensures even drying and dipping later. If you want to add a surprise crunch, roll some small chocolate pieces into the center of each ball.
Chill the cake balls
Once you have all your cake balls shaped, place them on a tray lined with parchment paper. Pop them in the freezer for at least 15 minutes. Chilling helps them firm up, making the next steps much easier. Plus, it means fewer mishaps when dipping into chocolate later on!
Melt the chocolate
While your cake balls are chilling, melt your chocolate! Whether you choose dark, milk, or white, chop the chocolate into smaller pieces for quicker melting. Use a double boiler or a microwave in 30-second intervals, stirring frequently. A helpful tip: add a touch of butter to the chocolate to create a smooth and glossy finish.
Dip the cake pops
Now comes the fun part! Take a chilled cake ball and dip one end of a wooden stick into the melted chocolate. This acts as glue when you insert it into the cake ball. Then, dip the entire ball into the chocolate, ensuring it’s fully coated. Allow any excess chocolate to drip off before proceeding.
Add decorations
This is where you can let your creativity shine! While the chocolate is still wet, sprinkle decorations like colorful sprinkles, crushed nuts, or edible glitter. Feel free to get as festive as you like!
Let them set
Transfer your decorated cake pops back onto the parchment-lined tray and place them in the fridge for a bit. This allows the chocolate to set properly and makes for easier handling later. Once set, they’re ready to dazzle your guests or satisfy your own sweet tooth!
By following these steps, you’ll end up with a batch of charming cake pops facile that are sure to impress anyone who takes a bite. Enjoy your baking adventure! For more tips on cake trends and recipes, check out resources like The Kitchn or Taste of Home.

Variations on Cake Pops Facile
Alternative Cake Flavors
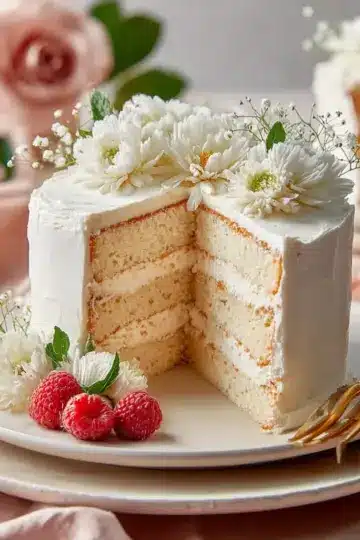
Why stick to one flavor when you can explore! Try using different cake bases like vanilla, red velvet, or even carrot cake. Each offers a unique twist to your cake pops facile, allowing you to match flavors to occasion or mood.
Different Chocolate Coatings
While the classic chocolate coating is delicious, you can get creative with cake pops facile by experimenting with various coatings. Consider white chocolate, dark chocolate, or a colorful candy melt. Mixing in a bit of flavoring oil, like peppermint or orange, can give your pops an extra kick!
Unique Decoration Ideas
Give your cake pops a personal touch with decorations. Dive into your pantry for inspiration: edible glitter, crushed nuts, or sprinkles can elevate your cake pops facile into true eye-catching treats. You can even drizzle contrasting chocolate on top for a striking pattern—let your creativity shine!
For more inspiration, check out this creative food blog that covers the wonderful world of treats!
Cooking tips and notes for Cake Pops Facile
Common mistakes to avoid
Making cake pops facile can be straightforward, but a few common pitfalls can derail your efforts. Firstly, ensure your cake is well-emulsified with the mascarpone. If not, you'll end up with dry pops that crumble. Be mindful of the chocolate melting process; burn it, and you'll need to start over. Finally, don’t skip the cooling periods—rushing through can cause your pops to break or not adhere to the sticks properly.
Equipment recommendations
To achieve cake pop perfection, invest in a few essential tools:
- Baking sheet: For cooling your cake pops.
- Double boiler: Perfect for melting chocolate without burning.
- Cake pop stands: These help keep your pops upright while drying, ensuring your decorations don’t get smudged.
Consider using silicone molds if you're having trouble shaping your pops. They can simplify the process significantly. For more tips and tricks on cake pops, you can check out this comprehensive guide.
Serving suggestions for Cake Pops Facile
Best occasions for serving cake pops
These delightful cake pops facile are perfect for a variety of occasions! Whether you're hosting a birthday party, a baby shower, or a casual get-together, their charming presentation and delicious taste make them a hit. They also double as a fun treat for school events or simply an afternoon snack to brighten your day. If you're looking for an easy yet crowd-pleasing dessert option, cake pops are your answer.
Creative serving ideas
Elevate your dessert table with some creative serving ideas for your cake pops facile:
- Color-Themed Displays: Match your cake pops with the theme of your event, using colored sprinkles or fondant.
- Mini Dessert Stands: Present your cake pops on tiered trays for a visually appealing arrangement.
- Flavor Variety: Offer different flavors, such as vanilla, chocolate, and red velvet, to satisfy every palate.
- Custom Packaging: Wrap them in clear cellophane and tie with a ribbon for thoughtful party favors.
Each of these creative ideas adds a personal touch, making your cake pops not just a treat, but a memorable experience for your guests! Discover more serving inspiration from The Spruce Eats and Food Network for unique twists on this beloved dessert.
Time breakdown for Cake Pops Facile
Preparation time
To kick things off, you'll need around 25 minutes to whip up your cake pops. This includes mixing the ingredients and shaping those delightful little spheres.
Chilling time
After shaping, let the cake pops chill in the freezer for about 15 minutes. This helps them firm up, ensuring that they stay intact during dipping.
Total time
In total, you'll invest roughly 50 minutes from start to finish, including baking, chilling, and decorating. With this fun and easy process, your cake pops facile will be ready to wow your guests in no time!
For more cake pop decorating ideas, check out The Kitchn's guide for inspiration!
Nutritional facts for Cake Pops Facile
When indulging in the sweetness of cake pops facile, understanding their nutritional profile can help you enjoy them even more mindfully. Here’s a quick breakdown:
Calories
Each cake pop contains approximately 150 calories, making them a fun treat without too much guilt. Perfect for that afternoon pick-me-up!
Sugar Content
These delectable bites pack about 10 grams of sugar each. While delightful, it's wise to enjoy them in moderation if you're keeping an eye on sugar intake.
Protein
With around 2 grams of protein, these cake pops offer a small boost to your snack options, thanks to the mascarpone cheese adding a creamy touch.
Feel free to visit Healthline for more insights on balancing treats with nutrition!
FAQ about Cake Pops Facile
How do you store cake pops?
To keep your cake pops facile fresh and delicious, store them in an airtight container in the fridge. They can last up to two days. If you're planning to make them ahead of time, simply ensure they’re wrapped securely to prevent them from drying out.
Can I make cake pops without mascarpone?
Absolutely! If you want a different flavor or dietary option, you can replace mascarpone with cream cheese or even a dairy-free alternative like almond cream. Just remember that this wil change the taste slightly, so choose what you love most!
What other types of chocolate can I use?
You’ve got options! Besides traditional dark chocolate, you can experiment with milk chocolate, white chocolate, or even flavored chocolates like caramel or strawberry. Each type offers a unique twist to your cake pops facile, making them even more exciting to enjoy.
For more tips on decorating or gathering inspiration, check out this resource on creative cake pop designs!
Conclusion on Cake Pops Facile
Celebrate with homemade cake pops!
Cake pops facile are not just treats; they are a delightful experience! Whether it's a birthday or a cozy gathering, these little indulgences bring joy and sweetness to any occasion. With simple ingredients and quick prep, you can impress your friends and family. So, grab your supplies, unleash your creativity, and enjoy these delicious bites! For more tips and inspiration, check out resources like Food Network or Serious Eats.

Cake Pops facile
Equipment
- Bain-marie
- mixing bowl
- spatula
- Freezer
- refrigerator
Ingredients
- 1 loaf Quatre-quarts A type of pound cake
- 3 tablespoons Mascarpone
- 200 g Chocolat Dark, milk, or white chocolate
- 10 pieces Pique(s) en bois Wooden sticks for cake pops
Instructions
- Break the baked cake into crumbs. Mix in 3 tablespoons of mascarpone by hand until homogeneous. Form into balls incorporating chocolate balls, and chill for 15 minutes in the freezer.
- Melt the chocolate in a bain-marie. Break the chocolate into pieces, place them in a heatproof bowl, and immerse half of the bowl in boiling water, stirring slowly until melted.
- Dip one end of a wooden stick in the melted chocolate and insert it into a cake pop. Let cool for 10 minutes, then dip the entire cake pop in chocolate, add decorations, and refrigerate before serving.
Leave a Reply