
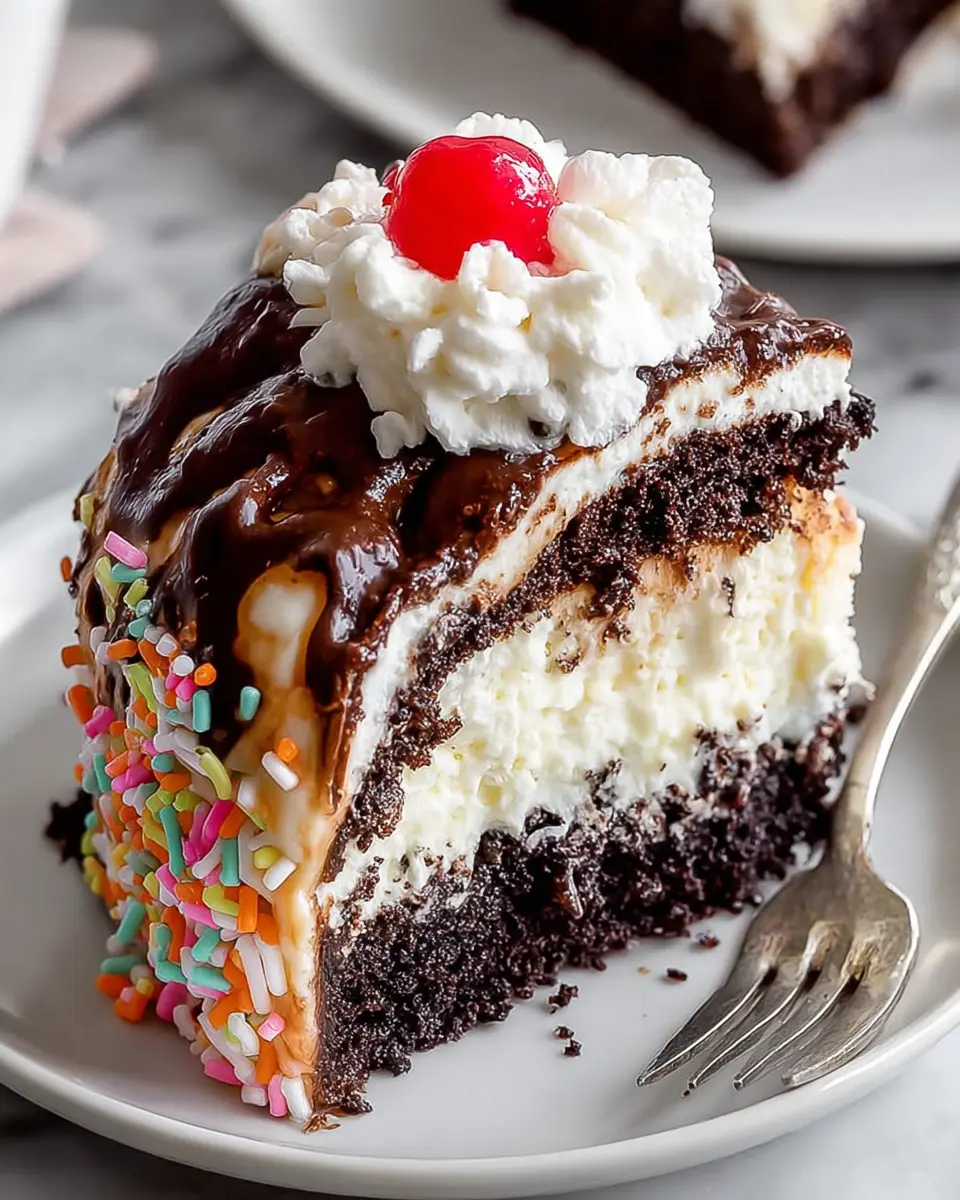
Introduction to Homemade Ice Cream Cake
Creating a homemade ice cream cake is more than just a delicious dessert; it's a delightful experience that’s perfect for young professionals looking to indulge and impress. With hectic work schedules, getting creative in the kitchen can feel therapeutic and rewarding, especially with a simple homemade ice cream cake recipe that doesn’t require advanced baking skills.
Why Homemade Ice Cream Cake is Perfect for Young Professionals
Imagine coming home from a long day at work and treating yourself—or a group of friends—to a slice of this creamy delight! Homemade ice cream cakes are the ultimate crowd-pleaser at birthday parties, summer barbecues, or even as a sweet surprise for yourself. Plus, they allow for endless customization. Whether you prefer the classic chocolate and vanilla combo or want to try bold flavors like strawberry or cookies and cream, the choice is yours!
Additionally, whipping up this dessert can be a fun bonding activity with friends, allowing you to unwind while enjoying each other’s company. For some inspiration on easy, fun ways to enjoy homemade cakes, check out this guide on cake decorating. So gather your ingredients, step into the kitchen, and create a masterpiece that is bound to impress!
Ingredients for Homemade Ice Cream Cake
Creating a delightful homemade ice cream cake is as satisfying as indulging in one! Here’s a breakdown of the essential ingredients you’ll need for this frozen delight:
For the crust
- 24 chocolate sandwich cookies, crushed: This forms the base with a rich, chocolatey goodness.
- 5 tablespoons unsalted butter, melted: This binds the cookie crumbs together, creating a firm foundation.
For the filling
- 1.5 quarts chocolate ice cream, slightly softened: Opt for your favorite brand for a creamy texture.
- 1.5 quarts vanilla ice cream, slightly softened: This provides a beautiful contrast to the chocolate layer.
For the fudge layer
- ¾ cup hot fudge sauce: A must-have for that luscious, gooey layer that enhances the flavor profile.
For the topping
- 1 ½ cups whipped topping or homemade whipped cream: This light, airy finish balances the richness of the ice cream.
- ¼ cup chocolate shavings or sprinkles: These add a decorative touch and a bit of crunch.
- Optional crushed cookies or chopped candy pieces: Get creative!
Gather these ingredients to embark on a delicious journey of making your very own homemade ice cream cake. Happy baking! For some handy tips on creating the perfect crust, check out this helpful guide.
Step-by-Step Preparation of Homemade Ice Cream Cake
Creating a homemade ice cream cake is an easy and fun project to tackle, perfect for parties or a delightful weekend treat. With just a few steps, you can whip up a dessert that not only looks stunning but also satisfies everyone’s sweet tooth. Let's dive into the preparation!
Prepare the crust
Begin by lining a 9-inch springform pan with parchment paper. This will make removing the cake later a breeze! In a mixing bowl, combine 24 crushed chocolate sandwich cookies with 5 tablespoons melted unsalted butter. Mix them until the cookies are thoroughly coated in butter. This combination will serve as your crunchy foundation. Press the mixture firmly into the bottom of the pan to form an even crust layer. Once done, pop the pan into the freezer for about 15 minutes to let the crust set. This is an important step to achieve a firm base.
Add the chocolate ice cream layer
Now it’s time to layer in the chocolate ice cream. Take 1.5 quarts of slightly softened chocolate ice cream and spread it evenly over your chilled crust using a spatula. Make sure it fills the edges well! Once you have a smooth surface, return the pan to the freezer for another 30 minutes. This helps solidify the ice cream layer, making your cake easier to manage in the following steps.
Apply the fudge layer
To elevate your dessert, it’s time for the fudge layer. Gently warm ¾ cup of hot fudge sauce until it's pourable—be careful not to overheat it! Pour the fudge over your frozen chocolate ice cream layer and spread it evenly. This delicious layer adds a richness that amplifies the flavor. Afterward, place the pan back into the freezer for about 15 minutes to allow the fudge to set perfectly.
Add the vanilla ice cream layer
Next up, it’s time to brighten things up with a vanilla ice cream layer. Spread 1.5 quarts of softened vanilla ice cream over the fudge layer, smoothing it out with a spatula for an even finish. After this, wrap the cake tightly in plastic wrap and freeze it for at least 4 hours, or even overnight if you can wait! This long freeze time ensures that your cake is perfectly solid and ready for slicing when you’re ready to serve.
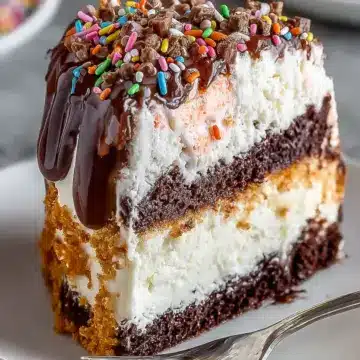
Finish and serve
Finally, the moment we’ve all been waiting for! Remove the cake from the springform pan and top it with 1.5 cups of whipped topping or homemade whipped cream. To add that finishing touch, sprinkle ¼ cup of chocolate shavings or colorful sprinkles on top, along with optional crushed cookies or chopped candy pieces. For clean slices, try dipping your knife in warm water between cuts—this little trick makes all the difference! Your homemade ice cream cake is now ready to impress your guests. Delight everyone with a slice of this wonderful dessert, and you’ll have them coming back for seconds!
Enjoy your creation, and don’t forget to customize it with your favorite flavors or toppings!

Variations on Homemade Ice Cream Cake
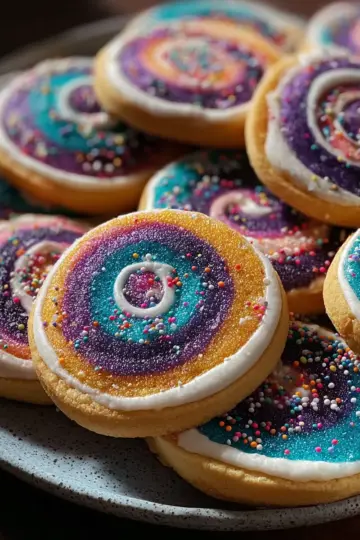
Swap the ice cream flavors
One of the most delightful aspects of your homemade ice cream cake recipe is the flexibility in ice cream flavors. Want a fruity twist? Try using strawberry or mango. Craving something classic? Vanilla and chocolate chip mint are fantastic options. Don’t hesitate to mix and match; you could even layer different flavors for a more colorful presentation!
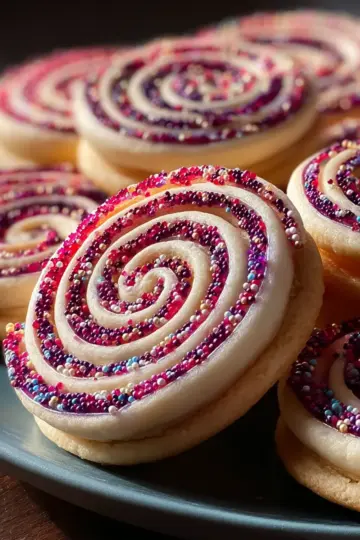
Experiment with different toppings
Toppings can truly elevate your cake! Instead of just chocolate shavings, why not sprinkle some crushed nuts, fresh berries, or cookie pieces on top? Drizzling with caramel or adding a layer of your favorite candies can create an exciting crunch. The possibilities are endless, allowing you to customize each cake to reflect your unique tastes or the occasion! For more topping inspiration, check out this comprehensive guide on cake decorations.
Cooking Tips and Notes for Homemade Ice Cream Cake
Ensuring a Neat Slice
To achieve perfect, stylish slices of your homemade ice cream cake, use a knife dipped in warm water. This simple trick melts the edges just enough to glide through the icy layers, ensuring each piece looks as good as it tastes. Remember to wipe the knife clean between cuts to keep the presentation sharp!
Tips for Keeping the Cake Fresh
To maintain the cake's texture and flavor, wrap it tightly in plastic wrap or store it in an airtight container before freezing. If you plan on enjoying your dessert later, consider slicing individual portions and storing them separately. For more tips on preserving desserts, check out this guide on dessert storage. By following these suggestions, your homemade ice cream cake will keep its delightful taste and texture longer!

Serving Suggestions for Homemade Ice Cream Cake
Ideal occasions
There’s no wrong time for a homemade ice cream cake recipe! Its versatility makes it perfect for birthdays, summer barbecues, or even cozy family gatherings on a rainy day. Think about serving it during the holidays for a unique twist to traditional desserts or bringing it to a potluck where everyone can dig in.
Pairing with beverages
To elevate your ice cream cake experience, consider pairing it with refreshing beverages. I recommend serving it alongside cold brew coffee or a fizzy sparkling water. For a touch of fun, try a fruity mocktail like a berry spritzer that complements the rich flavors of the cake while keeping things light and celebratory. You can find some excellent mocktail recipes to inspire your next gathering here.
Time Breakdown for Homemade Ice Cream Cake
Preparation time
Getting everything ready for this homemade ice cream cake recipe takes about 15-20 minutes. You'll be combining delicious ingredients to make your dream treat!
Freezing time
After prep, you'll need to allow for freezing. The initial layers will need around 45 minutes, while the final freeze requires 4 hours or overnight for best results.
Total time
In all, expect to spend roughly 4 hours and 20 minutes (or longer if you choose to freeze overnight) creating this delectable ice cream cake masterpiece! For more tips on freezing techniques, check out Food Network's guide.
Nutritional Facts for Homemade Ice Cream Cake
Calories
Indulging in a slice of your homemade ice cream cake packs around 400 calories. While that's a treat for the taste buds, it's wise to enjoy this delight in moderation.
Sugars
With its rich layers of ice cream and fudge, each slice contains approximately 30 grams of sugar. Balancing this sweetness with fresh fruit or a side of berries can add a nutritional boost!
Protein
You'll find about 6 grams of protein per serving. The protein partly comes from the dairy in the ice cream and whipped topping, making this dessert not just delicious, but also a bit satisfying. For more on nutrition and dessert ideas, check out Nutrition.gov.
FAQs about Homemade Ice Cream Cake
Can I make this cake in advance?
Absolutely! A homemade ice cream cake is perfect for prepping ahead of time. You can assemble the cake and store it in the freezer for up to a week before serving. Just be sure to wrap it tightly in plastic wrap to prevent freezer burn. Take it out about 10-15 minutes before slicing for easier serving.
What alternatives can I use for dietary restrictions?
No worries if you have dietary restrictions! You can use gluten-free cookies for the crust, or swap the ice creams for dairy-free versions, such as almond or coconut-based ice creams. For a lower-sugar option, look for sugar-free ice cream brands that fit your taste preferences. This allows everyone to enjoy your delicious cake!
How do I store leftovers?
If you have any leftovers (though that's rare!), store them in an airtight container in the freezer. It will stay fresh for about a week. Just make sure to cover it well to keep that delightful texture. When you’re ready to indulge again, let it sit out for a few minutes to soften slightly before serving.
Conclusion on Homemade Ice Cream Cake
In conclusion, this homemade ice cream cake recipe is a delightful treat perfect for any celebration or casual gathering. The blend of flavors and textures—from the crunchy crust to the creamy layers—will impress everyone. Enjoy making this cake, and share the joy with family and friends!
Homemade Ice Cream Cake Recipe
Equipment
- 9-inch springform pan
- mixing bowl
- spatula
Ingredients
Crust
- 24 cookies chocolate sandwich cookies crushed
- 5 tablespoons unsalted butter melted
Filling
- 1.5 quarts chocolate ice cream slightly softened
- 1.5 quarts vanilla ice cream slightly softened
Fudge Layer
- 0.75 cups hot fudge sauce
Topping
- 1.5 cups whipped topping or homemade whipped cream
- 0.25 cups chocolate shavings or sprinkles
- crushed cookies optional
- chopped candy pieces optional
Instructions
Preparation
- Prepare the crust: Line a 9-inch springform pan or deep cake pan with parchment paper. In a bowl, combine the crushed chocolate sandwich cookies with the melted butter, mixing until evenly coated. Press the mixture firmly into the bottom of the pan to create an even crust layer. Place the pan in the freezer for 15 minutes to set the crust.
- Add chocolate ice cream layer: Spread the softened chocolate ice cream evenly over the chilled crust, smoothing the surface with a spatula. Freeze the pan for 30 minutes to let this layer firm up.
- Apply fudge layer: Warm the hot fudge sauce slightly to make it spreadable, then carefully pour and spread it over the chocolate ice cream layer in an even layer. Return the pan to the freezer for 15 minutes to set the fudge.
- Add vanilla ice cream layer: Spread the softened vanilla ice cream over the fudge layer, smoothing it evenly with a spatula. Cover the cake tightly with plastic wrap and freeze for at least 4 hours or overnight, until completely firm.
- Finish and serve: Before serving, remove the cake from the pan and spread whipped topping or homemade whipped cream evenly over the top and sides. Garnish with chocolate shavings, sprinkles, or optional crushed cookies or chopped candy pieces. Slice with a knife dipped in warm water, wiping between cuts for clean slices. Serve immediately.


Leave a Reply