
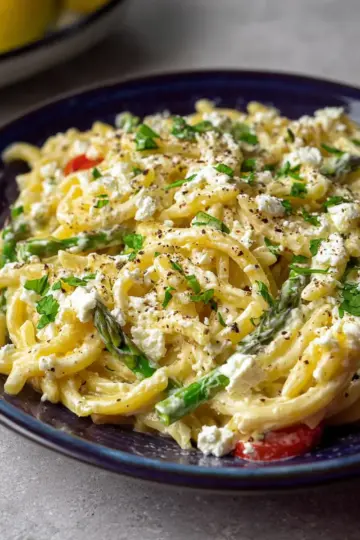
Introduction to Recette de Tamago Sando
Why Tamago Sando is the Perfect Homemade Meal for Young Professionals
If you've ever craved a delicious, comforting sandwich that feels like a little hug between two slices of bread, then the recette de tamago sando is for you! This delightful Japanese egg sandwich is not only simple to make but also perfect for young professionals who are often on the go. Picture this: your workday is hectic, and lunchtime sneaks up on you. Instead of reaching for unhealthy takeout, why not whip up something nourishing and satisfying at home?
The beauty of tamago sando lies in its accessibility. With just a few basic ingredients—bread, eggs, and mayonnaise—you can create a meal that’s delicious and versatile. You can customize it with your favorite spreads or herbs to match your mood. Plus, making it at home means you control the quality and freshness, ensuring you get the best flavors without the preservatives found in many store-bought options.
Not to mention, preparing this recipe can be a fun way to unwind at the end of a busy day, allowing you to indulge in some culinary creativity. If you’re ready to elevate your lunch game while keeping things simple, let’s dive into this easy recette de tamago sando!
Ingredients for Recette de Tamago Sando
Must-have ingredients for the perfect Tamago Sando
To create the ultimate recette de tamago sando, you'll need a few essential ingredients that truly bring this delicious Japanese egg sandwich to life:
- 4 slices of soft bread: Japanese milk bread is ideal for its fluffy texture, but any good-quality white bread will work.
- 4 eggs: The star of the show! Opt for fresh eggs for the best flavor and texture.
- 40 g Japanese mayonnaise: Kewpie is the top choice, boasting a richer taste that enhances the filling.
- Salt and pepper: Essential for seasoning, elevating the flavors of the egg mixture.
Optional ingredients to customize your sandwich
While you can certainly stick to the classics, don’t hesitate to get creative! Here are a few optional ingredients to tailor your tamago sando to your taste:
- Butter: A light spread can add richness.
- Mustard: For a little zing, a thin layer brings a delightful contrast to the creaminess.
- Greens: Adding some fresh arugula or spinach can lend a pop of color and freshness.
Feel free to experiment and make this recipe your own! If you're curious about pairing options or variations, check out this guide on Japanese ingredients.
Step-by-step Preparation of Tamago Sando
Creating a delicious recette de tamago sando is a rewarding experience that delights the taste buds. This Japanese egg sandwich is not just a meal; it’s comfort food that’s simple to make. Let’s walk through it step-by-step.
Cooking the eggs
Start by preparing the star of the show: the eggs. Gently tap one end of each egg against a countertop to create a small crack. This little trick helps to peel them easily after they’re cooked. Place the eggs in a pot and cover them with cold water. Bring the water to a rolling boil. Once boiling, turn off the heat, cover the pot, and let the eggs sit for just 10 minutes. This method really ensures perfectly cooked eggs—every time. Once the time's up, grab a bowl filled with ice water, and plunge the eggs in to cool them quickly.
Cooling and peeling the eggs
After allowing the eggs to cool for a few minutes, it's time to peel them! This part can be tricky, but I find that using a small spoon helps. Gently slide the spoon between the egg and the shell to lift it off. Rinse the peeled eggs under cold water to ensure you’ve removed all bits of shell residue.
Preparing the egg mixture
Now that your eggs are peeled, it’s time to create the creamy filling that makes the recette de tamago sando so irresistible. Start by separating the egg whites from the yolks. Place the yolks in a bowl and mash them with a fork until they are crumbly. Chop the egg whites into small pieces, around 5mm in size, and add them to the bowl. Next, mix in 40 grams of mayonnaise. For an authentic touch, opt for Japanese mayonnaise, like Kewpie—it really enhances the flavor. Season the mixture with a sprinkle of salt and pepper for the perfect balance.
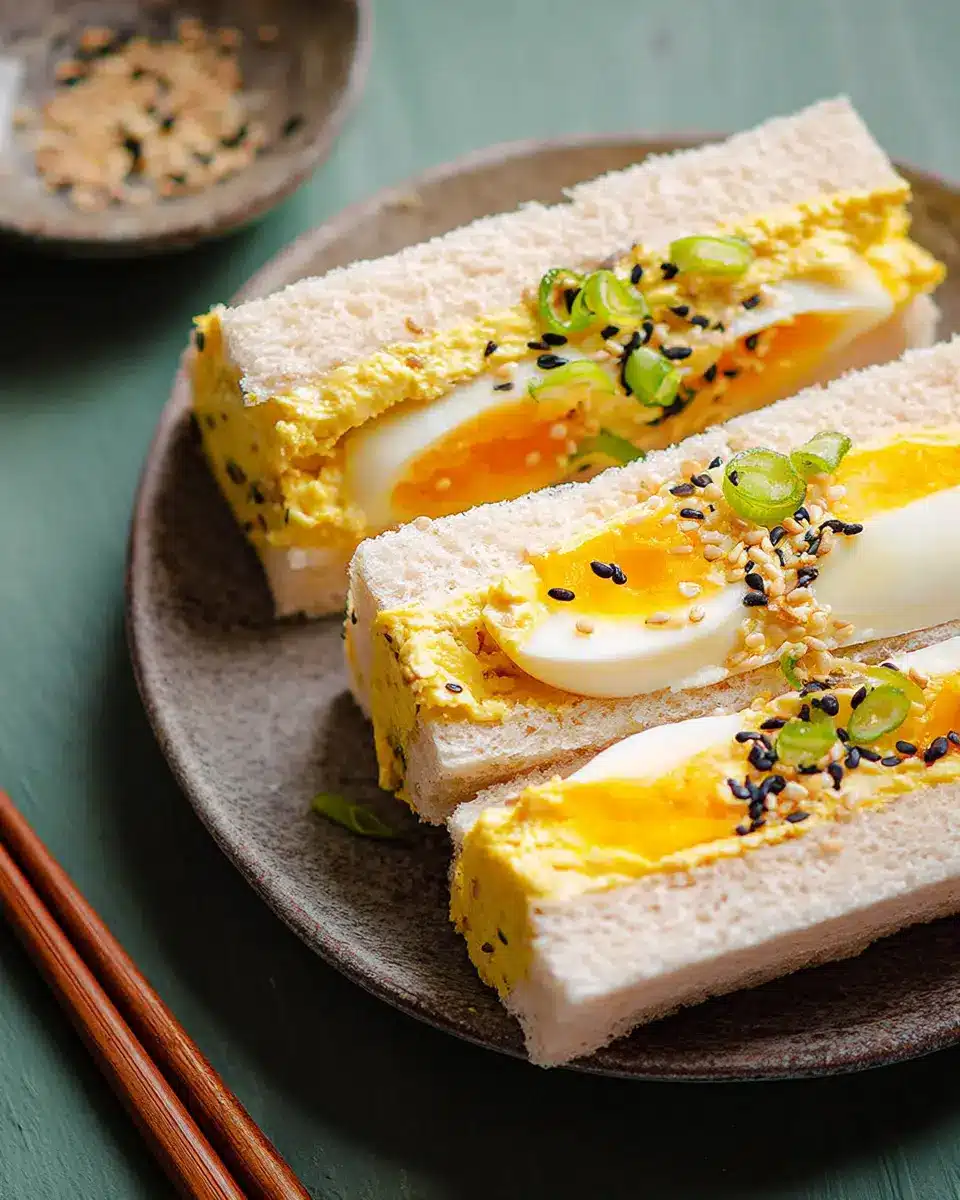
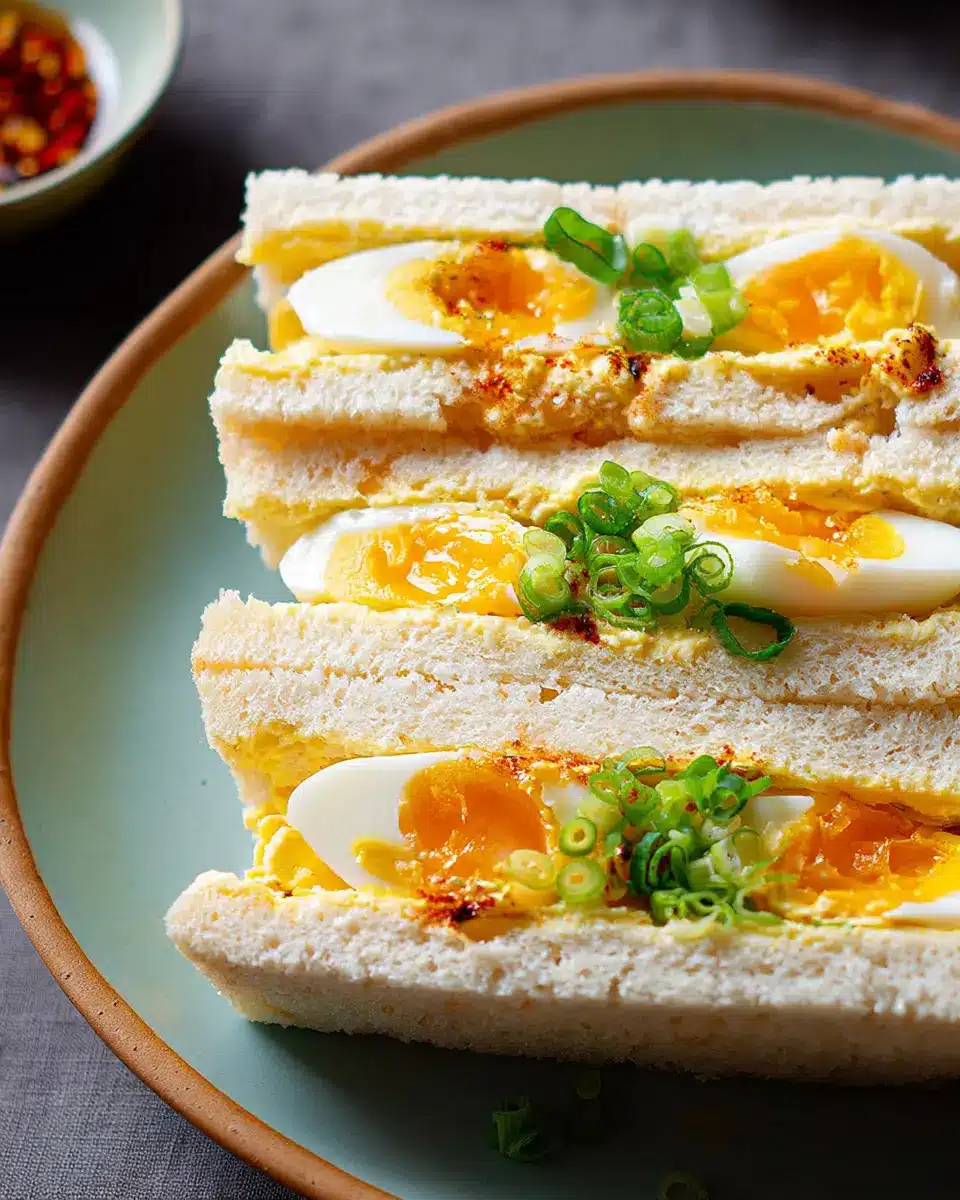
Assembling the sandwich
Let’s bring everything together now! Take four slices of pain de mie (soft white sandwich bread) and, if desired, spread a thin layer of butter on each slice. If you’re adventurous, add a touch of mustard. Take two slices and generously spoon the egg mixture onto them, ensuring a thicker layer in the center. Top with the remaining two slices to create your sandwiches.
Final touches before serving
Before serving your delicious Tamago Sando, consider trimming the crusts if you aren't using 100% mie bread. This step not only makes the sandwiches look cleaner but also provides a delightful, soft bite. Cut each sandwich into halves or quarters for easy handling.
Enjoy these delightful bites at a picnic, lunch break, or as a quick snack. The creamy, flavorful filling is sure to impress. So roll up your sleeves and get started on this delightful recette de tamago sando! For more inspiration, check out this guide on Japanese flavors and explore the beauty of Japanese cuisine.
Variations on Tamago Sando
Classic Tamago Sando with a twist
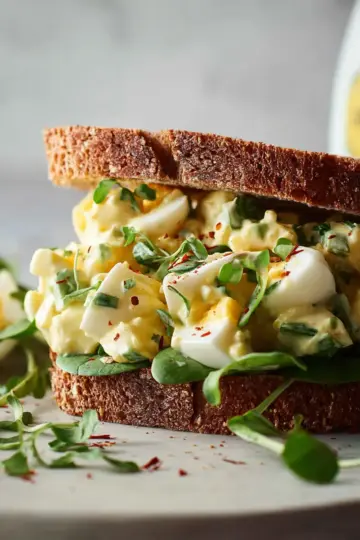
While the recette de tamago sando is already a delicious treat, consider adding a twist to elevate your sandwich. Try incorporating fresh herbs like chives or dill into your egg mixture for a refreshing flavor burst! You can also swap out regular white bread for whole grain or even sourdough for added texture and taste.
Spicy Tamago Sando with Sriracha
For those who crave a kick, a Spicy Tamago Sando is the perfect solution! Just mix a teaspoon of Sriracha into your mayonnaise before combining with the eggs to create a savory and spicy spread. You can further enhance the flavor by adding slices of avocado or even crispy vegetables for a satisfying crunch. This variation is sure to ignite your taste buds and bring your lunchtime sandwich to new heights!
For more inventive twists on classic dishes, check out Japanese Cooking 101 for unique ideas!
Cooking Tips and Notes for Tamago Sando
Best practices for boiling eggs
Achieving the perfect boiled egg is crucial for your recette de tamago sando. Start by tapping the eggs on the counter to create a small crack, which helps with peeling later. Boil water in a pot and gently place the eggs in once it's bubbling. Cover the pot, turn off the heat, and let them sit for about 10 minutes. This method gives you beautifully cooked eggs without the risk of overcooking. Remember, cooling them in an ice bath right after boiling also makes the peeling process easier!
Tips for perfectly soft-centered eggs
For those dreamy, soft-centered eggs, timing is everything! You might want to reduce the resting time to just 6-8 minutes after turning off the heat. This way, the yolks remain creamy and a touch runny, adding that luxurious texture to your sandwich. Consider experimenting a little—everyone’s stove is different, so don’t hesitate to adjust timing! For more insights on this technique, check out resources like Serious Eats or The Kitchn. Enjoy your cooking!
Serving Suggestions for Tamago Sando
Sides that go well with Tamago Sando
Pairing your recette de tamago sando with the right sides can elevate your meal. Here are a few suggestions:
- Crisp Salad: A light cucumber or mixed greens salad with a tangy dressing complements the creaminess of the sandwich.
- Fruit Salad: A refreshing fruit salad contrasts beautifully with the savory flavors.
- Potato Chips: Go for some lightly salted, crunchy potato chips for that satisfying texture contrast.
- Miso Soup: This classic Japanese side provides warmth and umami, balancing the sandwich’s flavor.
Creative ways to present your sandwich
Presentation is key! Here are ways to make your tamago sando visually appealing:
- Platter Arrangement: Serve your sandwiches on a beautiful platter, perhaps garnished with herbs or edible flowers.
- Creative Cuts: Experiment with cutting your sandwiches into different shapes using cookie cutters for a fun twist.
- Tiered Display: For a more elegant touch, stack your sandwiches on a tiered stand for a delightful afternoon tea vibe.
These thoughtful touches can transform a simple tamago sando into a delightful culinary experience that impresses at gatherings or casual lunches.
Time Breakdown for Tamago Sando
Preparation time
The préparation for your delicious tamago sando will take about 15 minutes. This includes boiling and peeling the eggs, as well as mixing the egg mixture.
Cooking time
Cook the eggs for 10 minutes—it’s a simple technique that delivers perfect hard-boiled eggs every time.
Total time
In total, you’ll need about 25 minutes to prepare this delightful sandwich. Quick, right? You can enjoy this tasty treat in no time, making it perfect for lunch or a quick snack.
For a detailed guide, check out the full recipe: recette de tamago sando.
Nutritional Facts for Tamago Sando
Calories
A classic tamago sando contains approximately 300-400 calories depending on the bread and condiments used. It's a satisfying option without the heaviness, making it perfect for lunch or a light snack.
Protein Content
This delightful sandwich packs about 12-15 grams of protein, largely from the eggs. This protein boost makes it an excellent choice for keeping your energy levels up throughout the day.
Dietary Considerations
The recette de tamago sando can be easily adapted for various dietary needs. It’s naturally gluten-free if you choose the right bread, and you can opt for low-fat mayonnaise to reduce calories. However, please note it does contain eggs and mayonnaise, so always check for allergies or dietary restrictions before enjoying!
FAQs about Tamago Sando
What bread is best for Tamago Sando?
For a delicious recette de tamago sando, the ideal choice is Japanese milk bread, which is light, fluffy, and perfectly complements the creamy egg filling. Look for bread labeled as “8 slices” or “100% mie” for the best results. If you can't find that, regular sandwich bread should work too; just ensure it’s soft and fresh.
How to store leftover Tamago Sando?
If you have leftover tamago sando, store it in an airtight container in the refrigerator. It’s best consumed within one day for optimal flavor and texture. To keep the bread from getting soggy, try to separate the egg filling from the bread until you’re ready to eat. This way, you’ll enjoy every bite fresh!
Can I make Tamago Sando vegetarian?
Absolutely! To create a vegetarian-friendly version of tamago sando, simply omit the egg or substitute it with plant-based alternatives, such as chickpea salad or mashed avocado. You can also experiment with adding ingredients like cucumber or avocado for a refreshing twist. Enjoy customizing your sandwich!
Conclusion on Recette de Tamago Sando
Creating a recette de tamago sando at home offers a delightful culinary experience. The creamy texture of the egg salad paired with soft bread creates a satisfying meal or snack. Plus, it's customizable to suit your taste! So why not try making this comforting dish today? You’ll be glad you did.

Recette de tamago sando
Equipment
- saucepan
- bowl
- fork
- knife
- spoon
Ingredients
Bread and Fillings
- 4 slices pain de mie ideally Japanese style
- 4 pieces oeufs
- 40 g mayonnaise preferably Kewpie
- sel
- poivre
- beurre optional
- moutarde optional
Instructions
Preparation
- Gently tap one end of each egg to create a micro-crack. Place the eggs in a saucepan, cover with water, bring to a boil, then turn off the heat and let sit for 10 minutes.
- Place the boiled eggs in a bowl of cold water and peel them, rinsing to remove shell residues.
- Separate the egg whites from the yolks. Mash the yolks in a bowl with a fork.
- Chop the egg whites into approximately 5mm cubes.
- Gently mix the egg whites, yolks, and 40g of mayonnaise. Season with salt and pepper.
- Prepare 4 slices of bread. Optionally butter the bread and add a thin layer of mustard, then place a portion of egg mixture on 2 slices, with a thicker layer in the middle. Top with the remaining slices.
- Trim the crusts if not using 100% mie bread, then cut each sandwich in half or quarters to serve.

Leave a Reply