
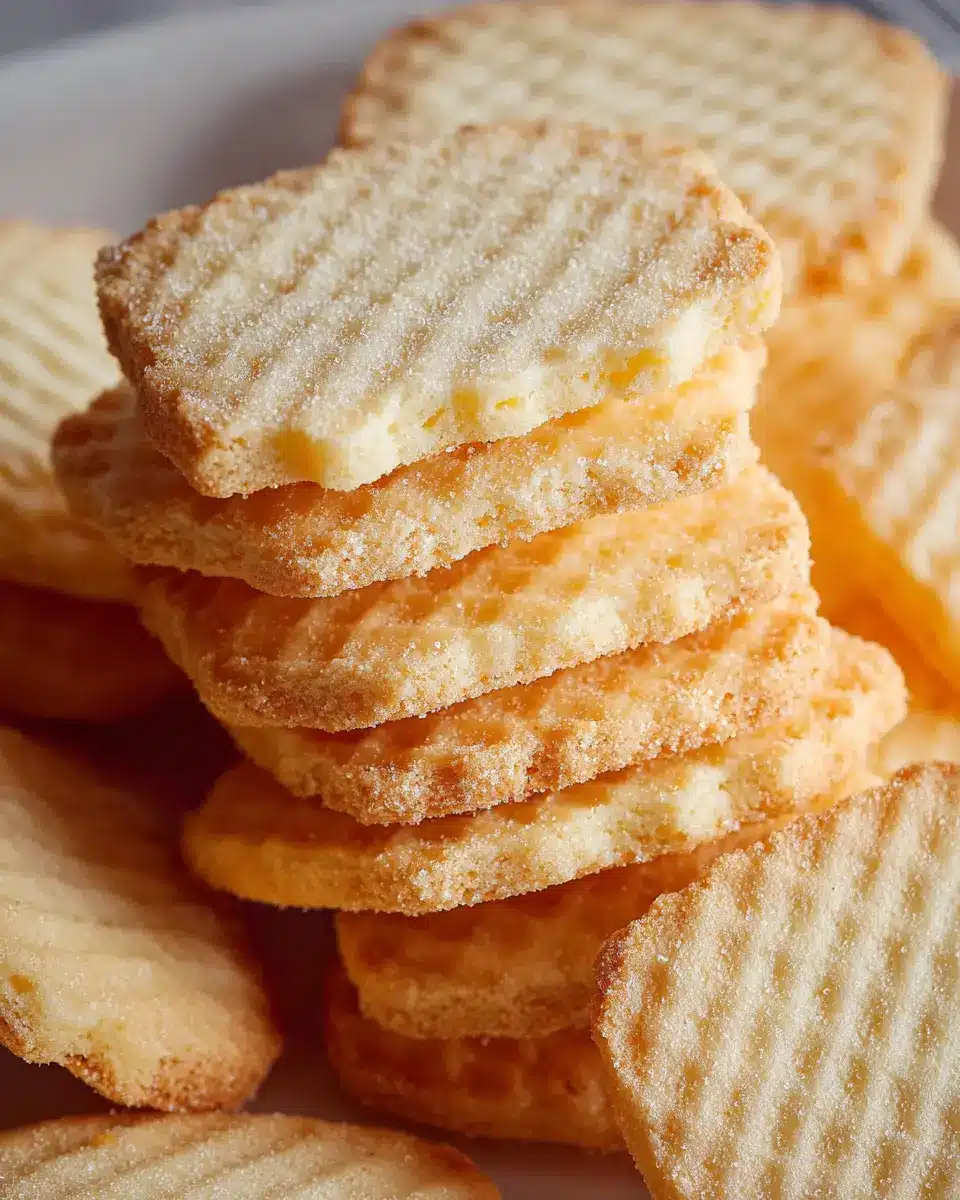
Introduction to Vanilla Wafers
Vanilla Wafers are delightful little cookies that every young professional should try making at least once. Not only do they evoke nostalgic memories of childhood snack time, but they are also incredibly versatile. You can enjoy them on their own, pair them with a cup of coffee, or use them as a base for a dessert such as cheesecake. Did you know that homemade cookies can outperform store-bought in flavor and freshness? Plus, they are simple to make, which makes them perfect for those busy weekdays or lazy weekends.
Why are these vanilla cookies a must-try for young professionals? Well, they are quick to whip up, taking less than 30 minutes from start to finish. They remind us to slow down and enjoy life’s little pleasures. Besides, there's something therapeutic about baking—a great way to take a break from the hustle and bustle of office life.
Moreover, you can easily customize these wafers. Want to add chocolate chips, nuts, or even a hint of lemon zest? Go for it! The options are nearly endless, making vanilla wafers a fun and creative outlet. So gather your ingredients, and let’s dive into this quick and rewarding baking adventure. For more inspiration on utilizing vanilla wafers, check out this creative dessert guide.
Ingredients for Vanilla Wafers
Creating vanilla wafers at home is an absolute delight, and having the right ingredients is the first step towards that. Let’s make sure you have everything you need before diving into the baking process.
- 1 ½ cups all-purpose flour: This will provide the structure for your wafers, making them just the right amount of crispy.
- ¾ teaspoon baking powder: Essential for giving your wafers that perfect little lift.
- ½ teaspoon Kosher salt: A dash of salt enhances the flavor and balances the sweetness.
- ½ cup unsalted butter (room temperature): This buttery goodness creates a tender texture.
- ½ cup confectioners' sugar: This adds a lovely sweetness and helps achieve the desired melt-in-your-mouth consistency.
- ¼ cup granulated sugar: For a little extra sweetness and a nice texture.
- 1 large egg (room temperature): The egg binds everything together beautifully.
- 1 tablespoon vanilla extract: The star of the show for that rich, delectable vanilla flavor.
- 1 tablespoon whole milk: A bit of milk keeps the batter smooth and creamy.
Once you gather your ingredients, you’ll be well on your way to enjoying delicious homemade vanilla wafers! If you're looking for tips on ingredient sourcing, check out resources like Serious Eats for more details on quality baking ingredients.
Step-by-Step Preparation of Vanilla Wafers
Gather your ingredients
Preparing to make vanilla wafers starts with gathering all your ingredients. This not only saves time but also ensures that you have everything you need on hand. Here’s a quick list for reference:
- 1 ½ cups all-purpose flour
- ¾ teaspoon baking powder
- ½ teaspoon Kosher salt
- ½ cup unsalted butter (room temperature)
- ½ cup confectioners' sugar
- ¼ cup granulated sugar
- 1 large egg (room temperature)
- 1 tablespoon vanilla extract
- 1 tablespoon whole milk
Make sure your butter is softened so it cream easily with the sugars, and let your egg come to room temperature for the best results.
Prepare the dry mix
Next, sift together the flour, baking powder, and Kosher salt in a bowl. This process helps aerate the flour and evenly distributes the baking powder and salt. If you're unsure about sifting, consider this – it’s like giving your ingredients a mini workout! Once combined, set this dry mix aside.
Cream the butter and sugars
In a stand mixer or using a hand mixer, cream together the unsalted butter with the confectioners' sugar and granulated sugar until the mixture is fluffy and light in color. This process usually takes about 2-4 minutes. The fluffiness contributes to the lovely texture of your vanilla wafers, making them light and crisp.
Combine wet ingredients
Now it’s time to add the wet ingredients. Beat in the large egg, vanilla extract, and whole milk until the mixture is well combined and smooth. This is where the magic of flavor begins—your kitchen is about to smell heavenly!
Integrate dry ingredients
Gradually add the dry mix into the wet mixture, stirring gently until just combined. Be careful not to overmix; you want to maintain that airy texture. Your batter should be thick yet manageable, ready to transform into vanilla wafers!
Chill the batter
Chilling the batter is a crucial step. Cover the bowl with plastic wrap or a clean kitchen towel and place it in the refrigerator for 10-15 minutes. This allows the flavors to meld together and helps the cookies maintain their shape while baking. It’s worth the wait!
Scoop and bake
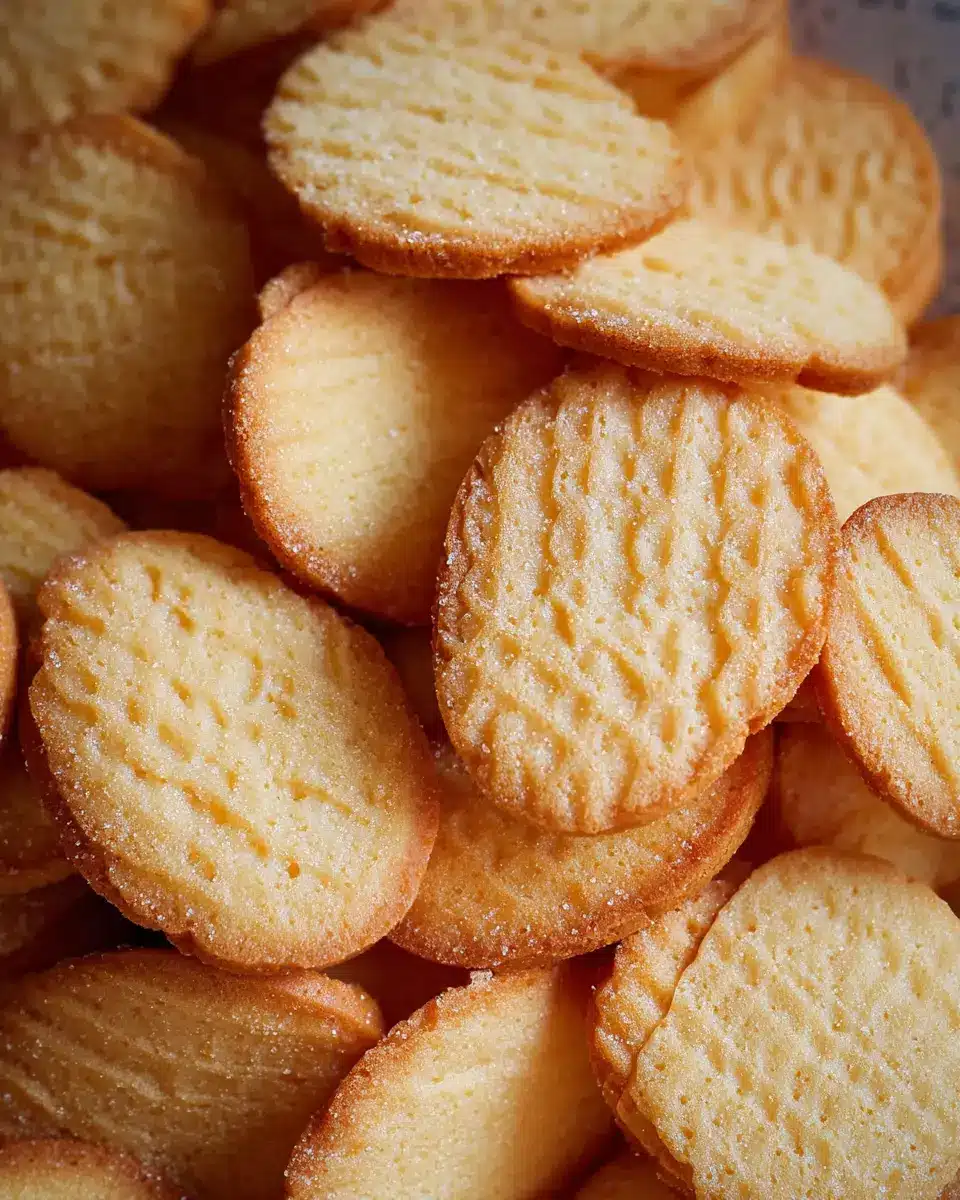
After chilling, scoop dollops of the batter onto a parchment-lined baking sheet, ensuring they’re spaced apart (around 2 inches). Bake in a preheated oven at 350°F for 12-15 minutes or until they are golden brown. Pro tip: rotate the baking sheet halfway through to ensure even baking.
Once baked, allow the vanilla wafers to cool on a wire rack before serving. These delicately crisp cookies are perfect for snacking or as a delightful addition to your dessert table.
If you found this process intriguing and want to expand your baking repertoire, check out more fantastic tips at King Arthur Baking. Happy baking!

Variations on Vanilla Wafers
Chocolate-dipped vanilla wafers
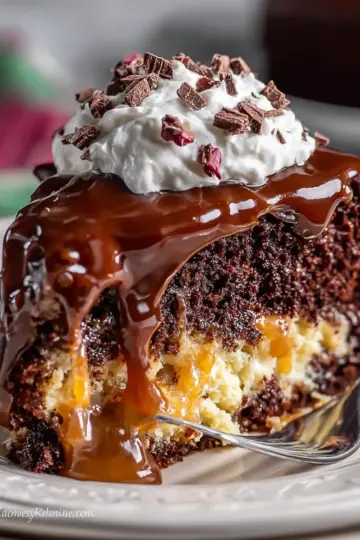
Want to elevate your vanilla wafers experience? Try dipping your freshly baked wafers in melted chocolate! Just melt your favorite chocolate—dark, milk, or white—and dip one half of each wafer. Set them aside on parchment paper until they cool, letting the chocolate form a delicious glaze. This simple twist adds a decadent layer of richness that’s impossible to resist, perfect for when you want to impress guests or treat yourself.
Vanilla wafer sandwiches
For a delightful twist, consider making vanilla wafer sandwiches. Spread your favorite filling—cream cheese, buttercream, or even a fruit preserve—between two wafers. Not only do you double the taste, but it also creates a fun, bite-sized treat for gatherings. Add sprinkles or crushed nuts for an extra crunch and pop of color, and watch the smiles bloom around the table.
Cooking Tips and Notes for Vanilla Wafers
Making vanilla wafers at home is a delightful experience! Here are some helpful tips to ensure your wafers turn out perfectly every time.
-
Ingredient Temperatures Matter: Always use room temperature butter and eggs for better mixing. This helps create a smooth batter and maximizes fluffiness.
-
Don't Skip the Chill: Chilling your batter for 10-15 minutes before baking is essential. It prevents spreading and helps achieve that crisp edge we all love.
-
Watch Your Bake Time: Keep an eye on your wafers while they’re baking; ovens vary, and even a minute can make a difference between perfect and overdone.
For more tips on baking techniques, you might find this article from King Arthur Baking insightful!
Serving Suggestions for Vanilla Wafers
Vanilla Wafers are not just delightful on their own; they can be the star of many creative pairings! Here are some serving suggestions to elevate your dessert experience:
-
Dipped in Chocolate: A drizzle or dunk in melted chocolate can add a decadent touch. Dark chocolate pairs beautifully with the vanilla flavor.
-
As a Topping: Crumble them over yogurt or ice cream for a delightful crunch. Not only does it enhance texture, but it adds a burst of vanilla sweetness!
-
In Trifles: Layer Vanilla Wafers in a glass with fresh fruits and whipped cream to create a stunning dessert trifle. This not only looks appealing but offers a delicious contrast of flavors.
For more inspiration, check out this guide for creative dessert ideas that incorporate cookies!
Time Breakdown for Making Vanilla Wafers
Preparation Time
Getting started on those delicious Vanilla Wafers takes about 15 minutes. Gather your ingredients—having everything on hand makes the process smooth and enjoyable.
Baking Time
The baking will take an additional 12-15 minutes, so make sure you keep an eye on them! They should be golden brown and perfectly crispy.
Total Time
All in all, you're looking at around 30 minutes from start to finish. A quick and satisfying treat you can whip up in no time! Whether you're enjoying them with tea or as a sweet snack, these wafers are sure to impress. Exploring more baking tips? Check out this baking resource for inspiration!
Nutritional Facts for Vanilla Wafers
When it comes to enjoying vanilla wafers, understanding their nutritional profile can help you make informed choices. Here’s a quick overview:
- Calories: Each wafer has approximately 38 calories, making them a light snack option.
- Sugar Content: A single wafer contains about 2 grams of sugar, which adds just a hint of sweetness without overindulging.
- Fat Content: With 2 grams of fat (1 gram saturated), these delightful treats can fit comfortably into a balanced diet.
By keeping these numbers in mind, you can savor your homemade vanilla wafers while maintaining a mindful approach to your nutrition. Plus, they can easily be paired with fresh fruit or Greek yogurt for a delicious, balanced treat! For more information on mindful eating, check out resources from the American Heart Association.
FAQs about Vanilla Wafers
How can I adjust the sweetness of my vanilla wafers?
If you prefer a less sweet taste, simply reduce the amount of confectioners' sugar in your Vanilla Wafers recipe. You can cut it by a quarter or a third and still maintain a lovely texture. Alternatively, if you desire a sweeter bite, consider adding a bit more granulated sugar, but remember that balance is key to keep the classic flavor intact.
Can I add different flavors to the batter?
Absolutely! Vanilla Wafers serve as a perfect base for creativity. You can infuse the batter with flavors like almond extract, lemon zest, or even cocoa powder for a chocolatey twist. Just be sure to adjust the overall sugar content to maintain the balance of sweetness.
How should I store my vanilla wafers?
To keep your Vanilla Wafers fresh, store them in an airtight container at room temperature for up to a week. For longer storage, you can refrigerate them for two weeks or freeze them for up to three months. Just layer them between sheets of parchment paper to prevent sticking.
For more sweet tips and tricks, check out Serious Eats for extensive baking advice!
Conclusion on Enjoying Vanilla Wafers
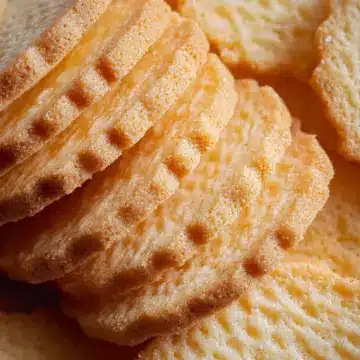
Enjoying vanilla wafers is simple and rewarding! Their crisp texture and sweet, buttery flavor make them perfect for snacking, or pairing with your favorite desserts like ice cream or puddings. So, gather your ingredients and start baking these delightful treats today. Your taste buds will thank you!
Vanilla Wafers
Equipment
- Stand Mixer
- baking sheet
- parchment paper
- wire rack
Ingredients
- 1.5 cups all-purpose flour
- 0.75 teaspoon baking powder
- 0.5 teaspoon Kosher salt
- 0.5 cups unsalted butter (room temperature)
- 0.5 cups confectioners' sugar
- 0.25 cups granulated sugar
- 1 large egg (room temperature)
- 1 tablespoon vanilla extract
- 1 tablespoon whole milk
Instructions
- Preheat your oven to 350°F.
- In a bowl, sift together flour, baking powder, and salt; set aside.
- In a stand mixer, cream butter with confectioners' and granulated sugars until fluffy.
- Add the egg, vanilla extract, and milk; blend until smooth.
- Gradually mix in dry ingredients until just combined.
- Chill the batter in the refrigerator for 10-15 minutes.
- Scoop dollops of batter onto a parchment-lined baking sheet, spacing them apart.
- Bake for 12-15 minutes or until golden brown; rotate halfway through.
- Allow cooling on a wire rack before serving.

Leave a Reply